
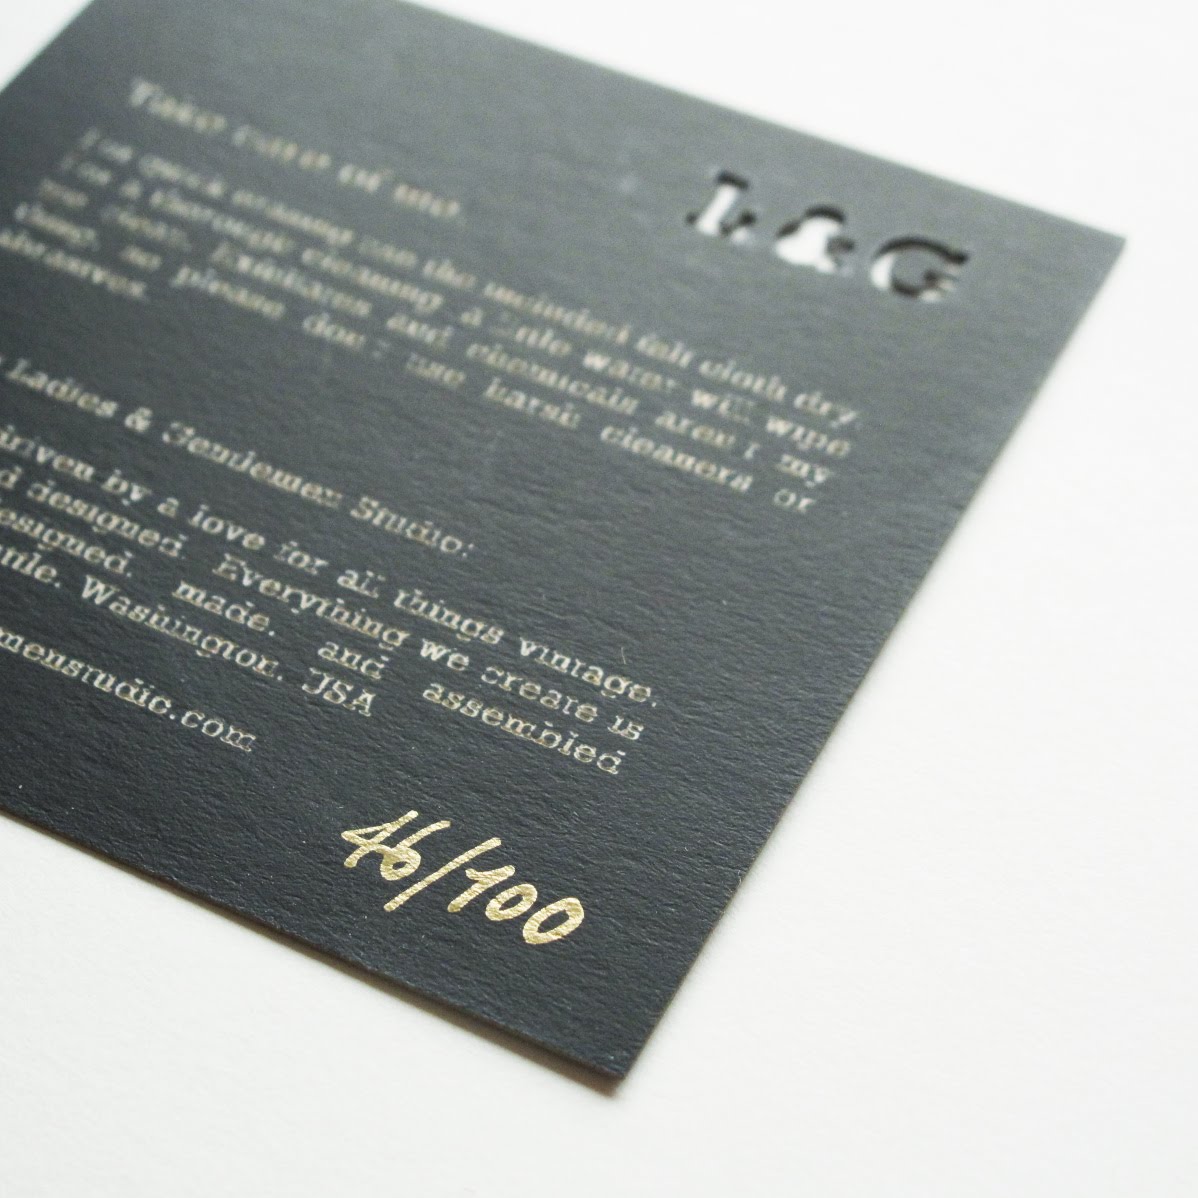
 We decided to put a personal touch to our Chalk-It-To-Me Piggies where each piggy is marked with a limited edition number with our 14k gold pen. (I'm kidding, there's no gold in it...so don't go sending the piggy away to trade for money...)
We like the idea to make them limited edition and that after this first 100 of them, we'll udpate the piggy with something else...to keep things exciting for everyone including us! 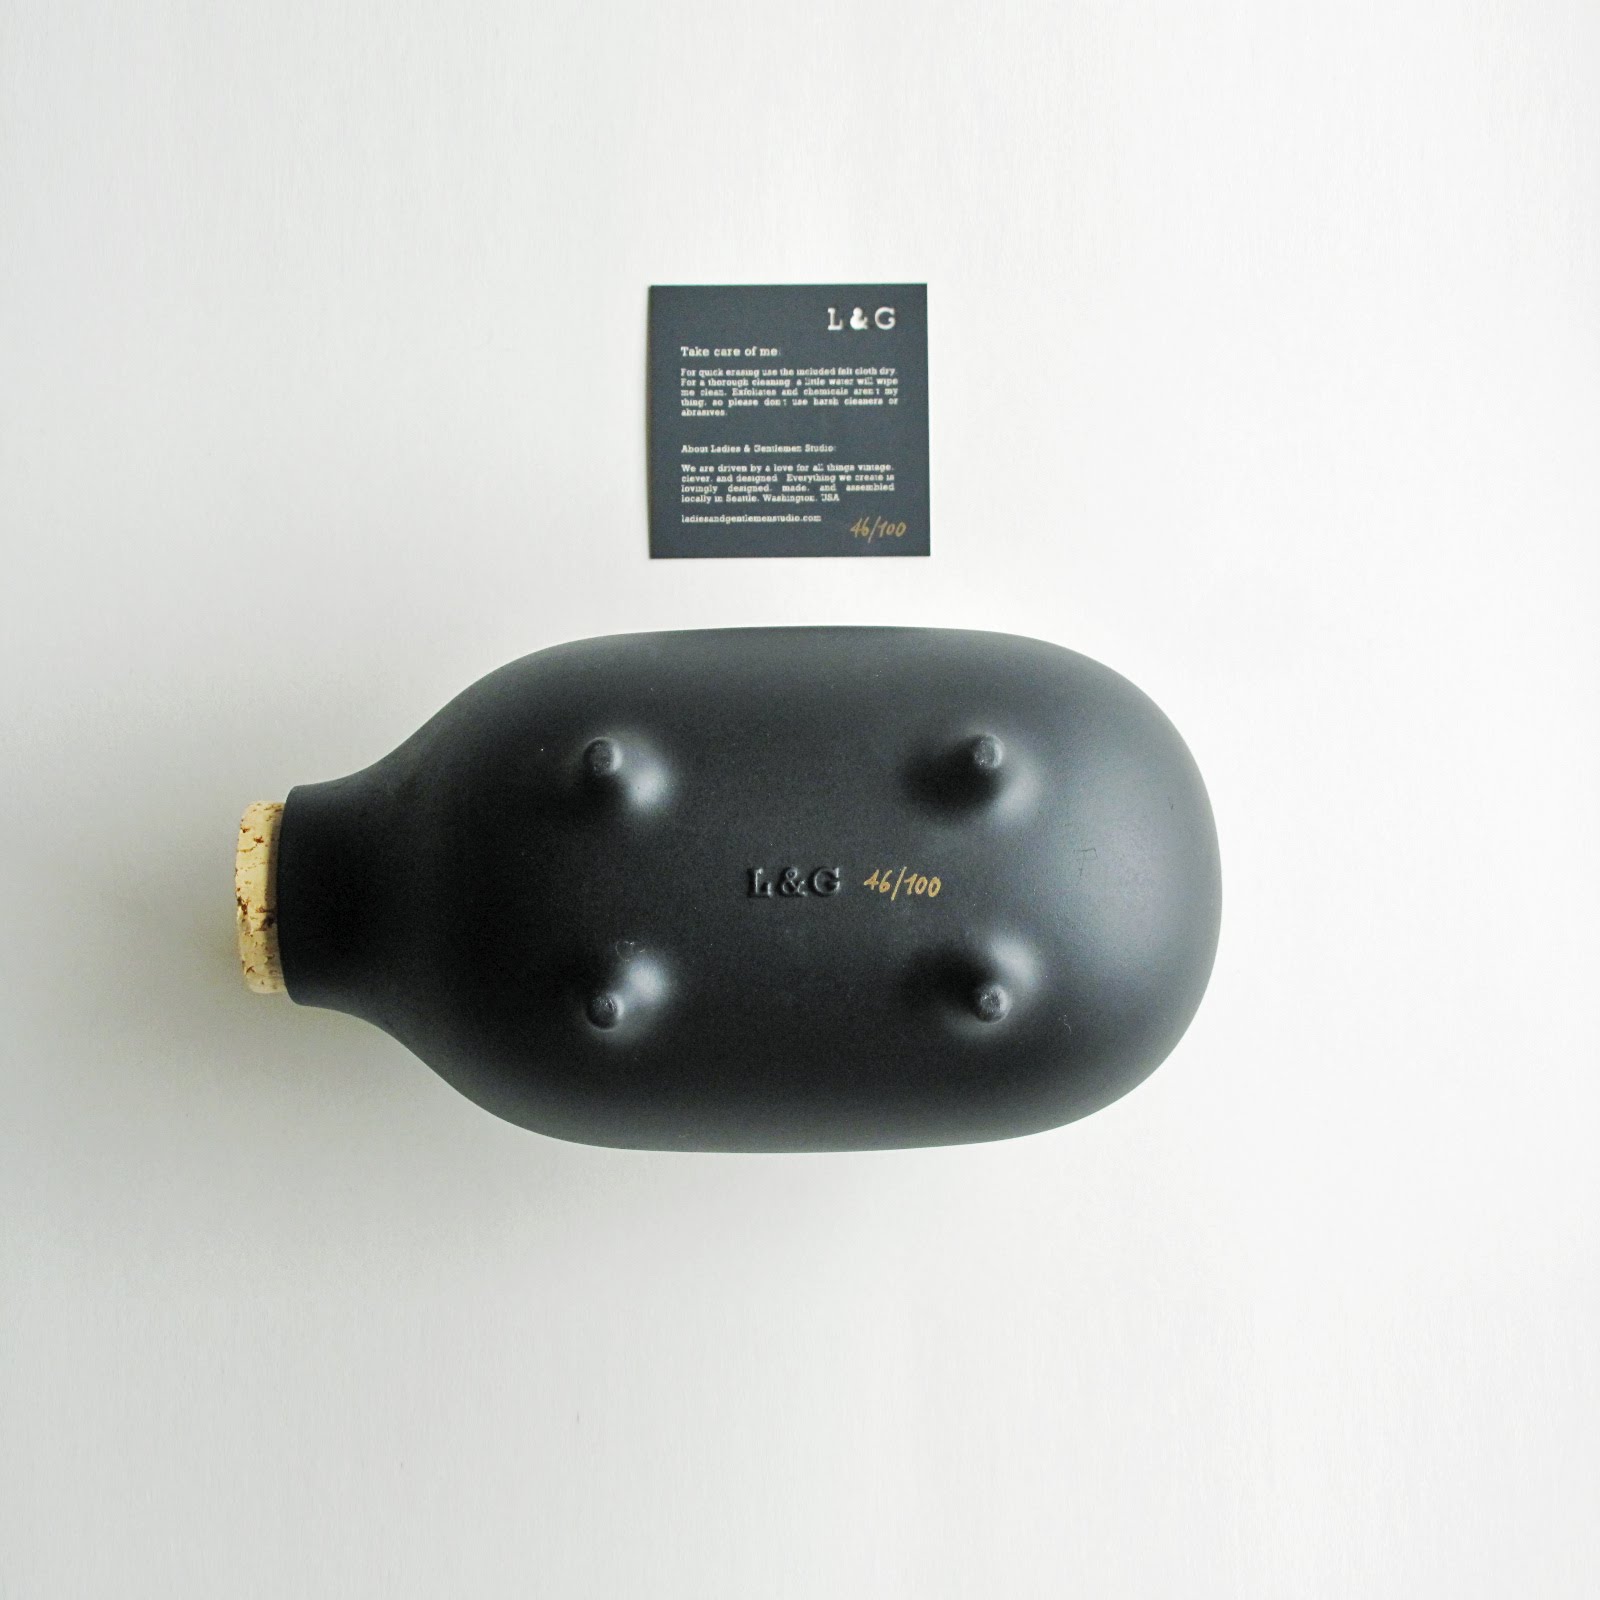

Viewing entries tagged
slip casting

 So as you know we've been bustling our little piggy behinds on bringing these little piggy to the market. The NY market at the NYIGF to be exact!!
Based on what we learned from our slip casting class....we realized there's a reason why humans make machines like 3D printers so we don't ever have to make imperfect models from scratch! 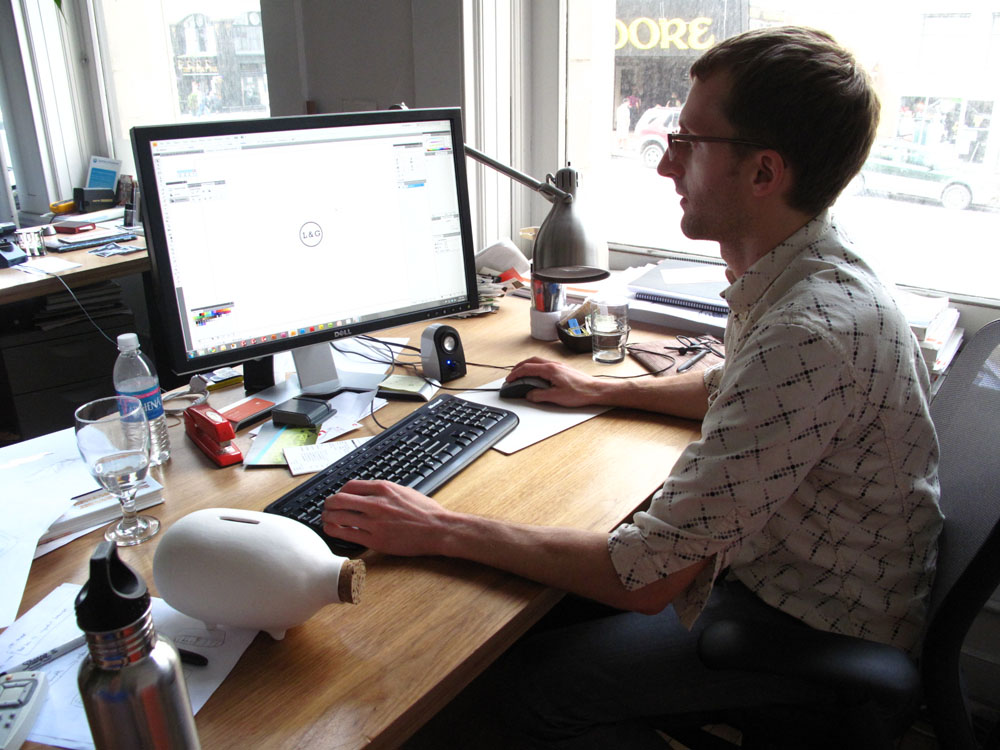 Thanks to our duplex mate/friend & confidant/pro Solidworks user, Jared of General Assembly was able to help us draw up a perfect Chalk-it-to-me Piggy Bank model!! But also his office just invested in a new 3D printer and so we got to try it out and also see the magic birth-giving/clone-making of our version 2.0 piggy bank!
Here's the version 1.0 piggy accompanying Jared while he drew it up on Solidworks. I'm still proud of us for making the first piggy from scratch, but there's just still too many imperfections of uneven bumps and surfaces that we didn't feel okay taking it to the market with it... :(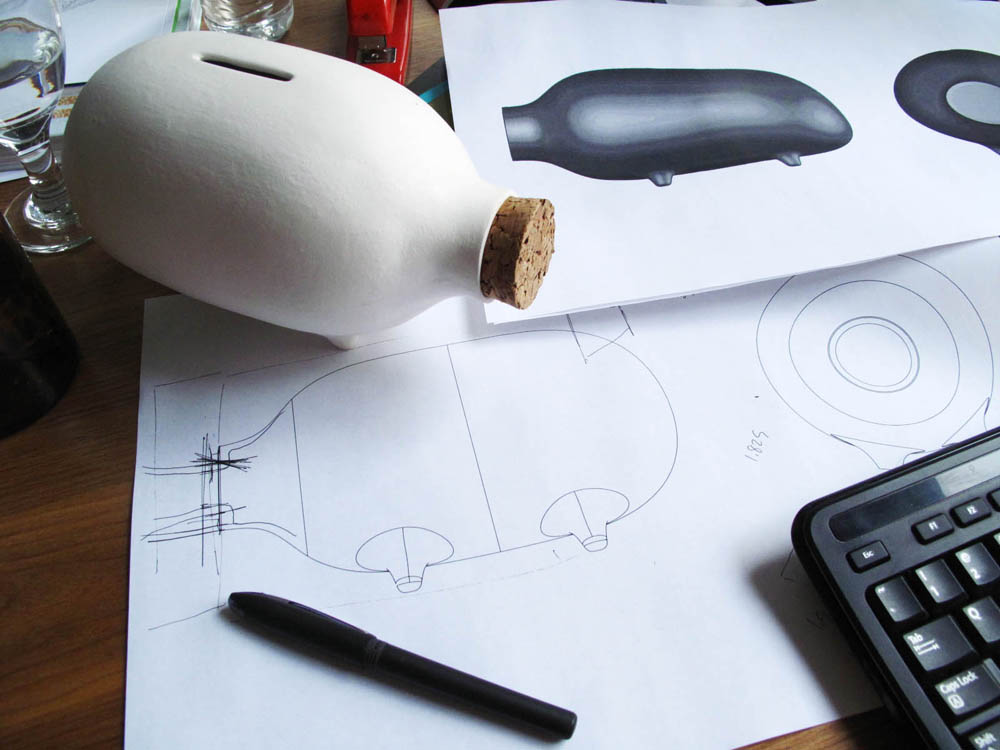 Here's a rendering of version 2.0 piggy on the screen....ahh....so perfect and smooth looking....
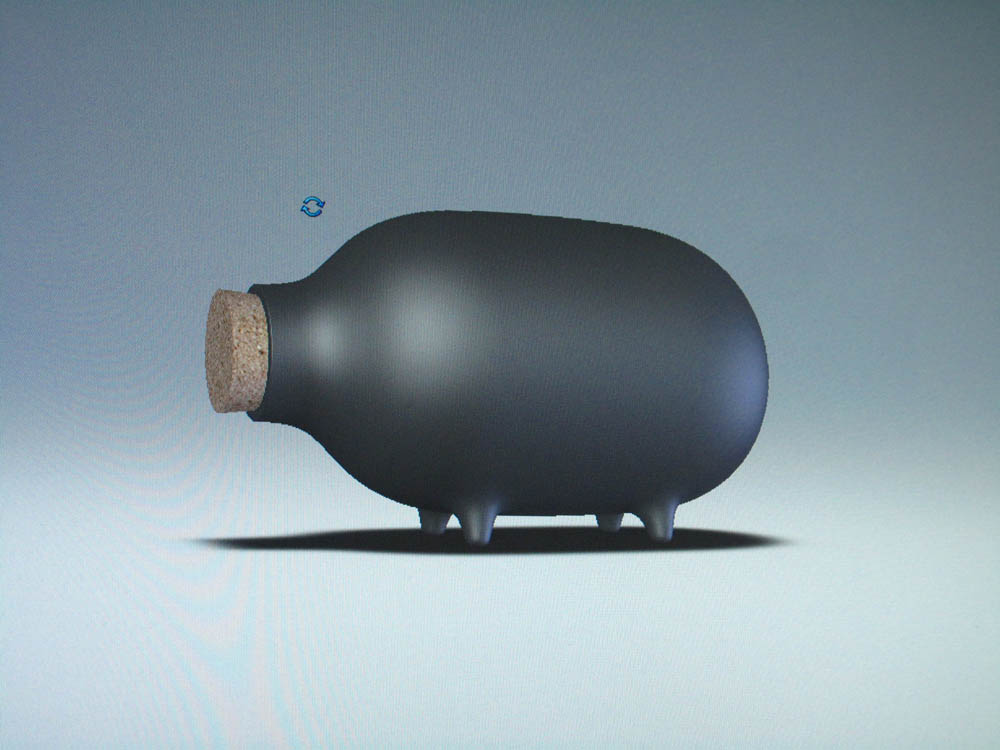 After much tweaking and refining of version 2.0 piggy. Jared sent it to their magical robot 3D printer...where it literally spews out a liquid resin material and prints it layer by layer in .00000000001 mm (a little exaggerated, yes, but you get the idea ) layers and builds it from bottom to the top like a topographical map.
Here's the cloning of the pig in the machine. (play some sort of sci-fi soundtrack) After almost 24 hour of straight printing we got the first half of version 2.0 cloned piggy! I could have stood there watching it the whole time if I could since it was so mesmerizing to look at....
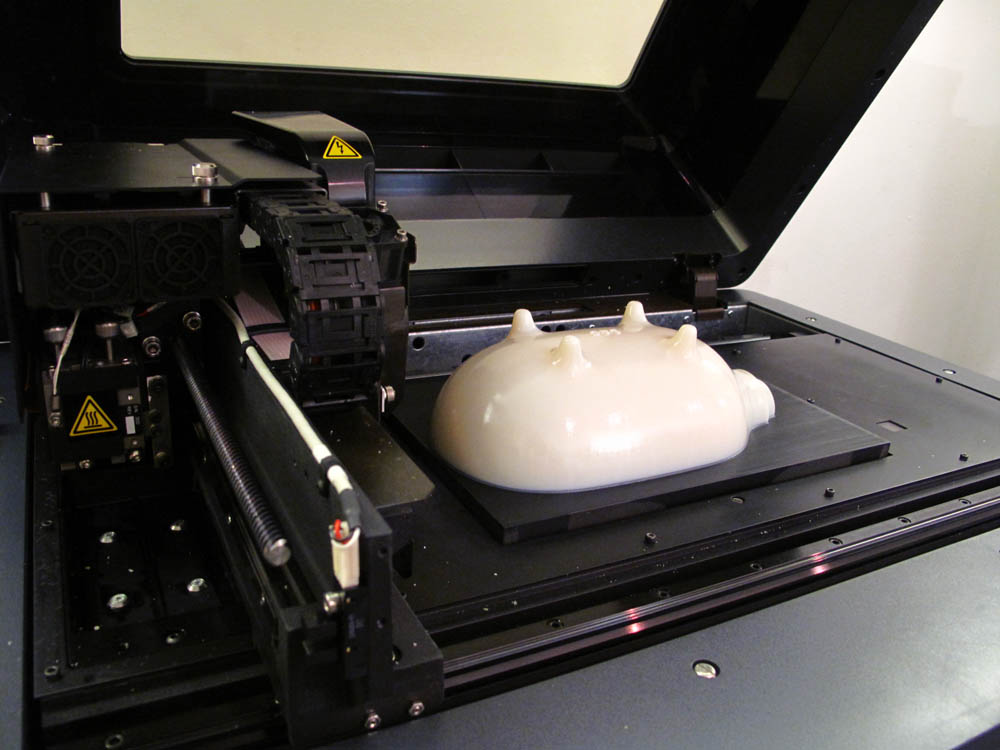 We even got our logo integrated on its belly! It just totally blows my mind what computers & machines can do!! I freaking love machines!!
 Here's Dylan with second new born!! ...just the first half of it.
  Here' are the two halves getting primed and wet sanded so they'll have even more perfectly smooth surfaces...like a baby's tush. :)
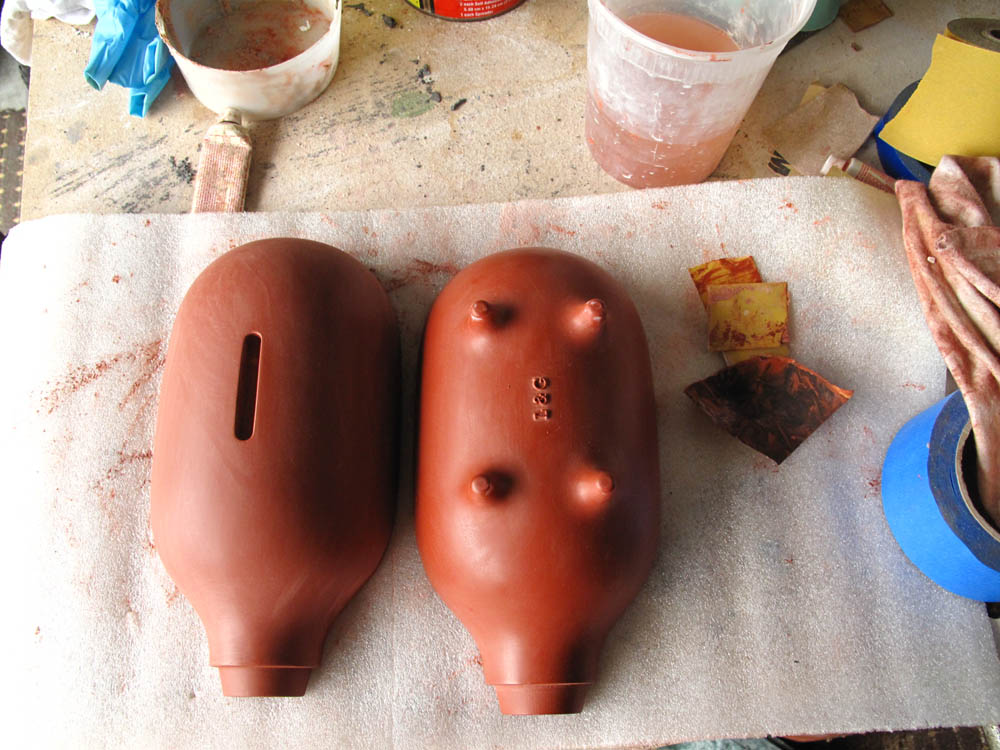 Here's a comparison photo of the first piggy. Granted the first version has its own personality and charm, I think the second version's refined contours and proportions is bringing it to a higher level of awesomeness! But we still love version 1.0 piggy just as much as despite its slight flaws!
 ...and here it is!!! Version 2.0 piggy master model!
 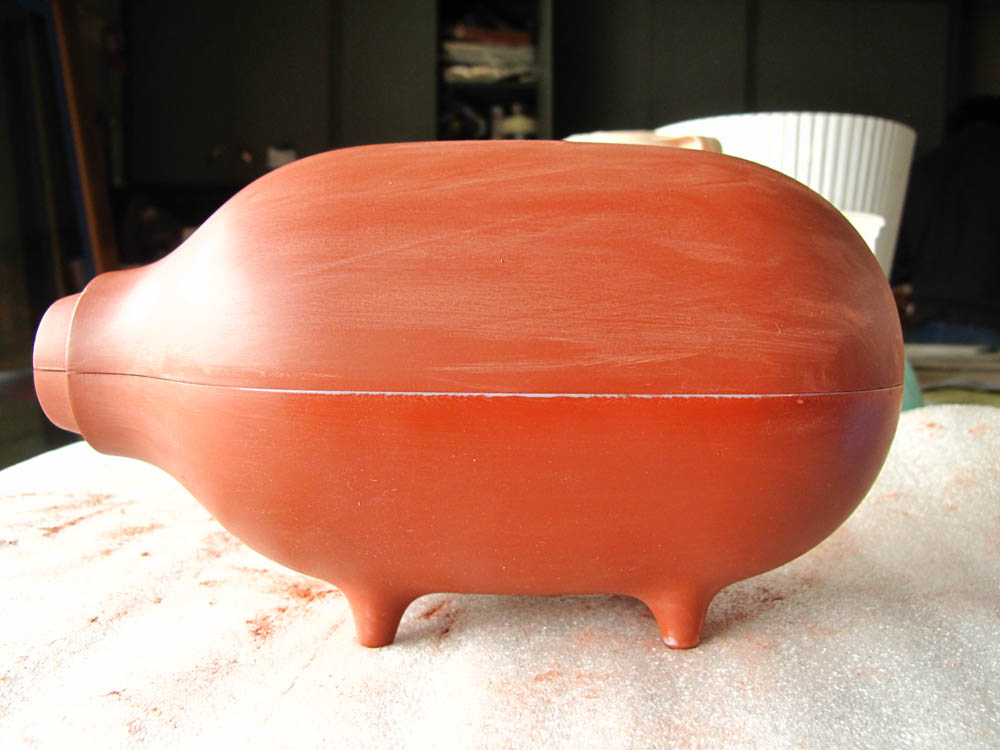 We're so thankful of all the hard work and the hours that Jared has put in to help us making all this happen!! We wouldn't have been able to take the pig to market if it weren't for all Jared's awesomeness!!
Now we just have to see how the real slip cast ones will turn out!!
Can this get any more exciting....and the answer is....YES of course!
Here's our third update on our slip casting process!!
Last post was all about making the master form and the mold. I know....totally boring....but now the really fun part where we actually get to make real things!!
Here's how it goes:
The 2 part plaster molds are held together by couple of thick rubber bands. Once assembled, pour pre-mixed, pre-configured clay slip into the mold. Start timing! It's pretty amazing how primitive this whole process is, but it totally works!
So here's Heath pouring slip into one of his molds.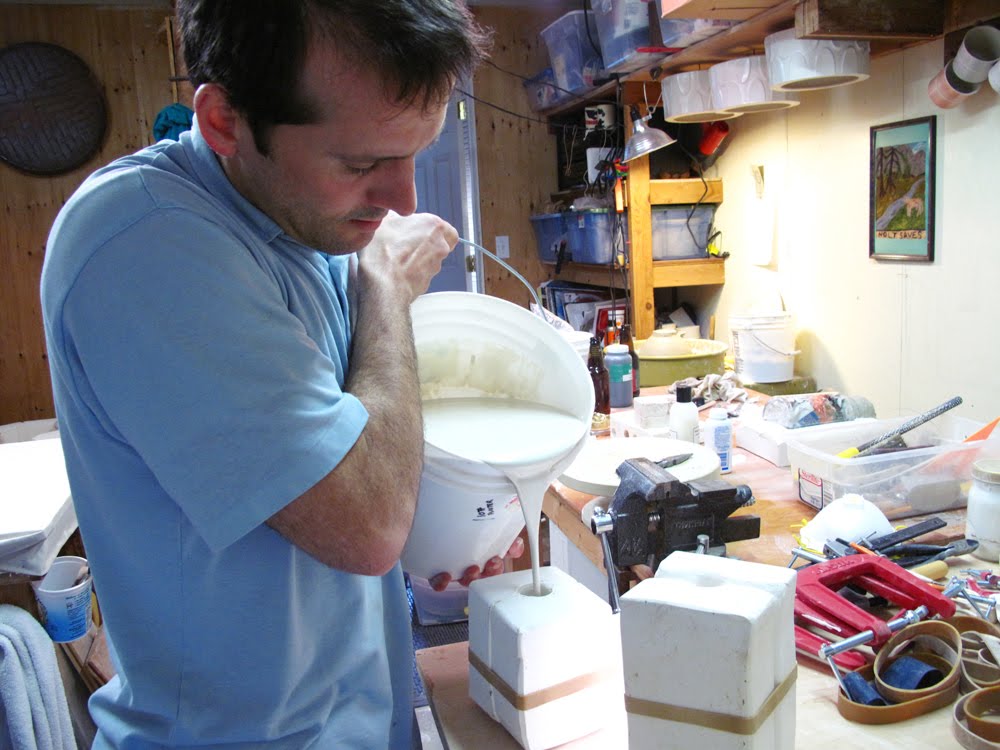 Here's my little gem shaped mold with slip poured in.
The slip sits in the mold and the plaster in the mold eventually absorbs the water from the clay. This will harden the clay body and create a wall thickness all around the shape inside. Once it achieves the ideal wall thickness, we pour out the rest of the slip and just let it sit for a bit!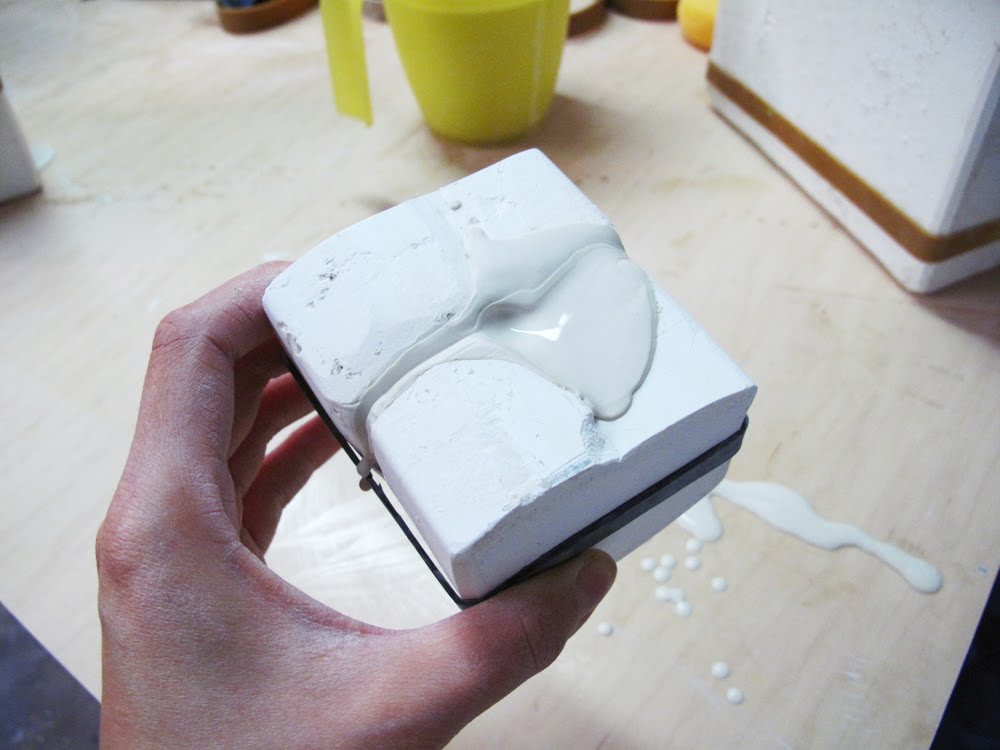 Here we have Dylan trying to blow in the mold thinking it would speed up the drying process....but that's not proven to be very time efficient.... So do not follow his technique. :P
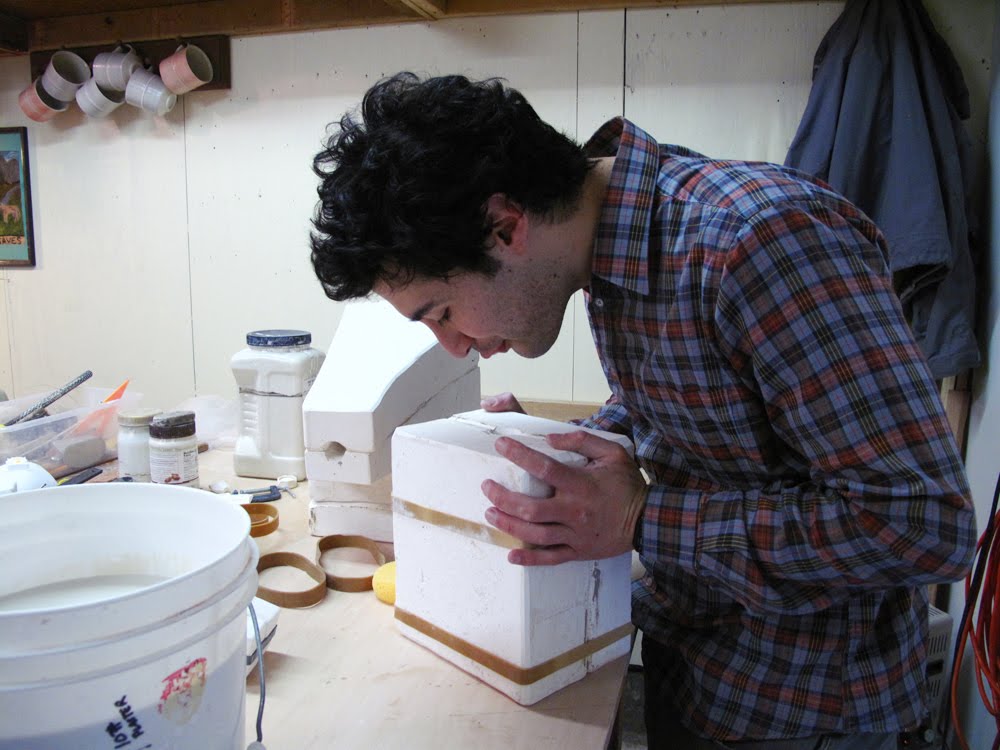 My slip cast gem taken out of the mold after the clay had hardened. You can see where the pour spout and the parting line is where the molds met. All that has to be trimmed and cleaned up afterward. This is the fun part for someone who's a little OCD like me....it's a totally gratifying step to just use some tools to trim and clean everything up so it looks all nice and neat!
 And here are some finished trimmed gems & critter paws!
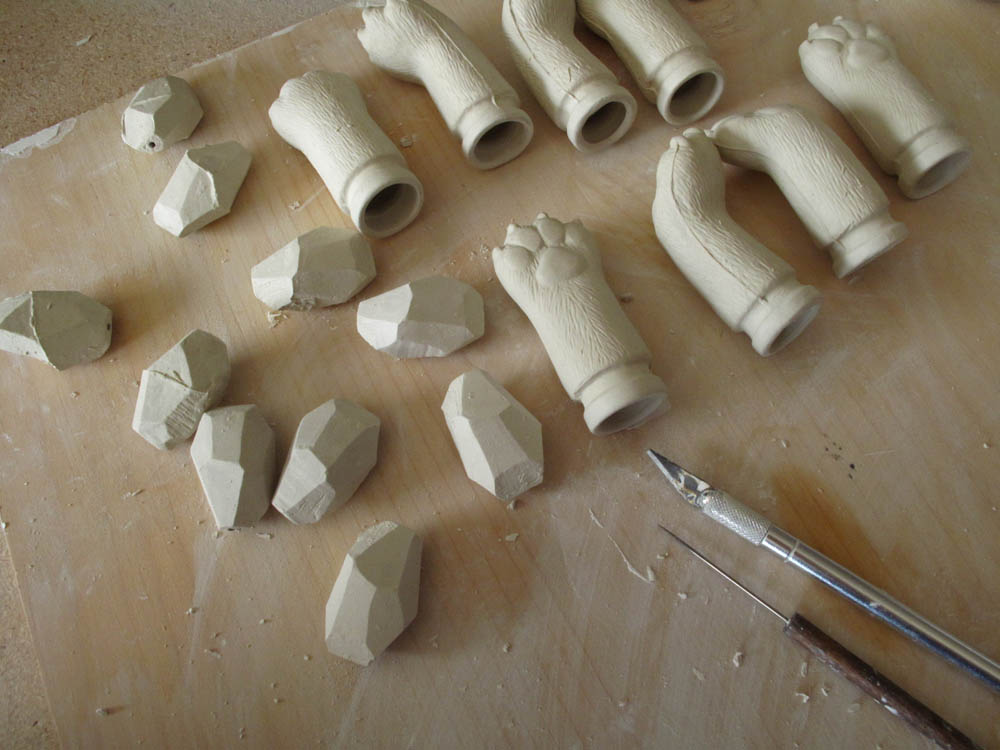 .....and here's our first trimmed piggy!! YAY!!
OUR FIRST BABY!! I've never had a baby...but considering how much I had to go through to get this baby out, I'd imagine the feeling of accomplishment and love is similar to delivering an actual one.....I'm 95% positive...
Except this baby saves money....unlike a real human baby which in contrast would COST a lot of money...I hope this baby pig will be a good investment. :)
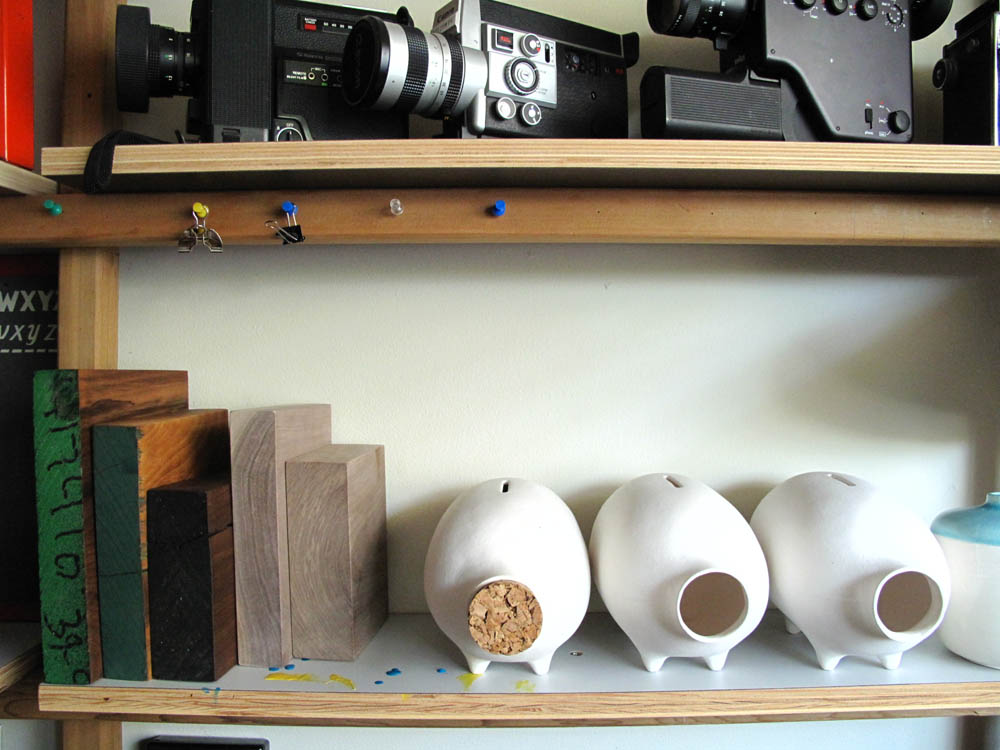
So here's our first batch of some fired pieces!! I can't explain how awesome it is to be able to start with some liquid clay and end up with finished products that we designed! It just totally makes me really appreciate the art of slip casting. Even though it's more of a production process, it still required so much time & care in every step of the process to make it nice. 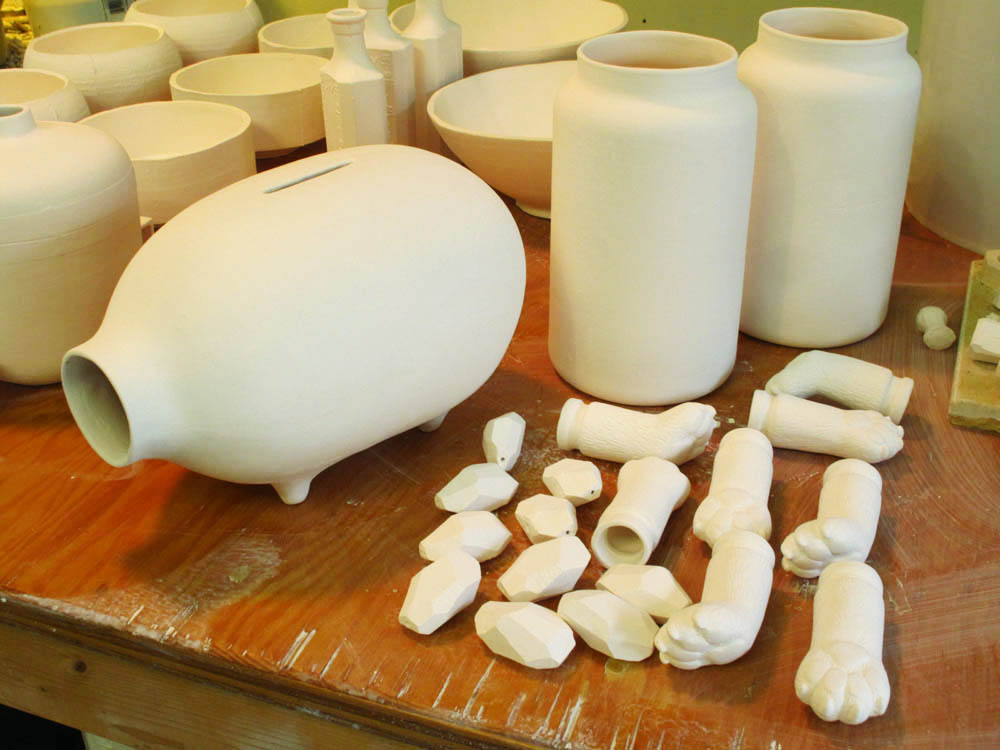
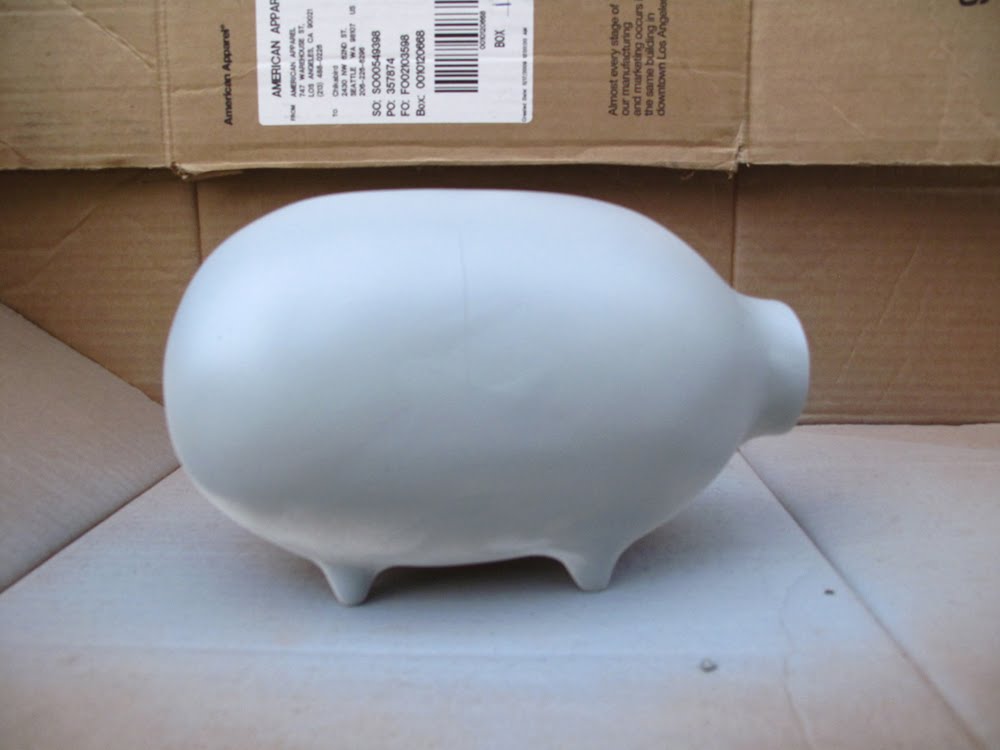
 And finally....a finished & glazed piggy! WOO HOO!!
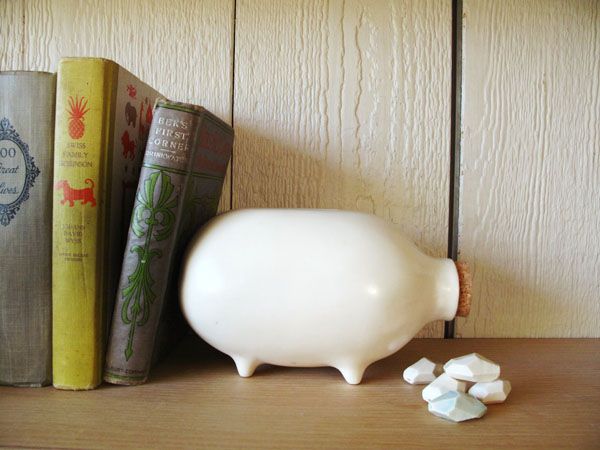 We didn't have the right type of black glaze for this first one....so just glazed it white. So this one still isn't the real deal (Sorry for all the build up)
But I just feel the need to share this one because it is our first child!! Yes..we'll totally be the type of parents to take a BUNCH of photos of their first child and then don't bother with the second child...
We designed it with simplicity of form and function in mind...we want as much smooth surfaces to maximize the chalkable surface, also designed it so the pour spout (where we pour the slip) is actually the piggy's snout! Eh? You like that??
But really...we just wanted to make a simple mold that we can easily do ourselves. :D Granted this little piggy have cost us more than we want to think about...we still believe that it'll all be worth it in the end. We really hope we'll get our return when we launch the real thing at the NYIGF!! I'm keeping my fingers crossed!