Viewing entries tagged
ceramic

Comment

New Collaboration Brewing

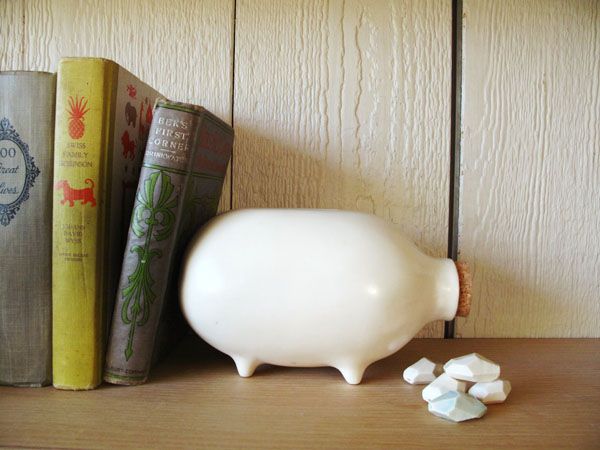
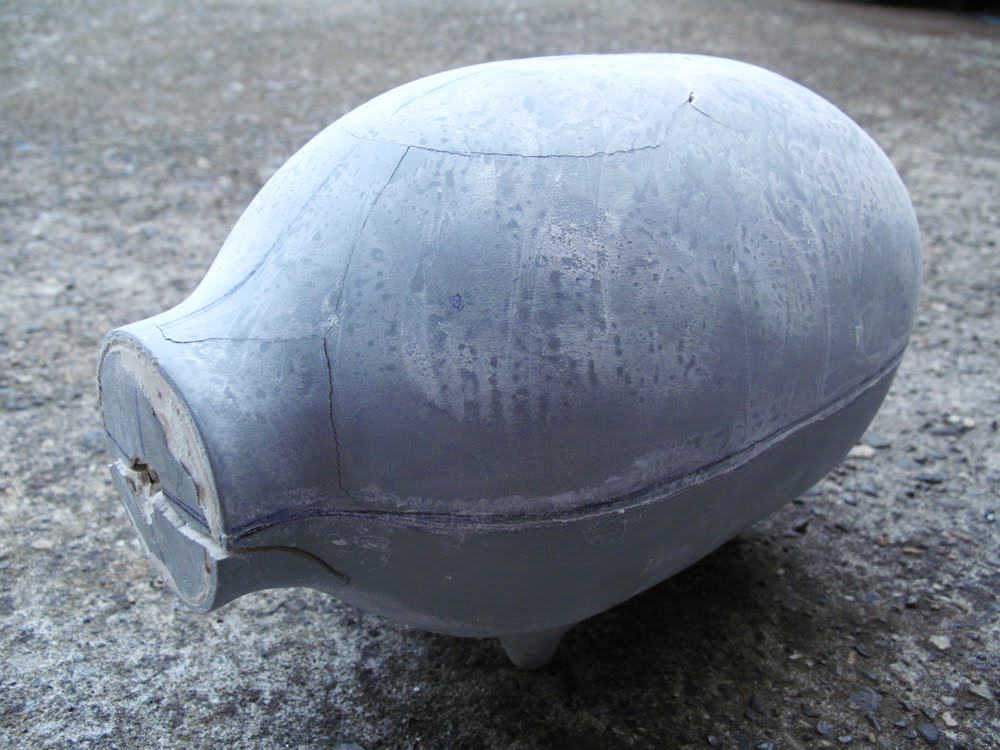
​Vase by Nicholas Nyland

We're really excited to be working with our dear friend/artist, Nicholas Nyland in creating a whole collection of wind chimes which we'll launch in mid-May!

We've been posting some process shots on our EXPLORATION page  and we'll be sharing them next week and will be exhibiting them at New York Designweek along with other new works from MAY 17-20 at Reclaim NYC and Noho Design District. (Details TBA) 

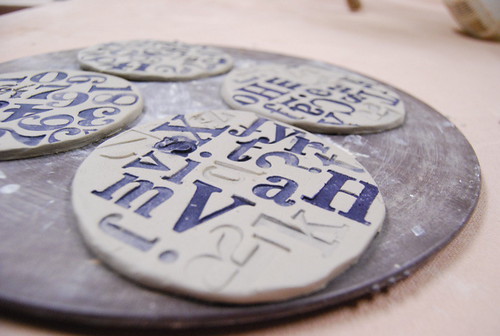
We've been a long-time fan of Nicholas' work and been wanting to work with him for years now! We love his fun & uninhibited way wanting to work with him for years now!  We love his uninhibited ceramic pieces and his use of  fun colors and  textures.

Needless to say it's going to be an exciting collaboration and we think it'll yield a really interesting result contrasted with our simple forms and material pallet!

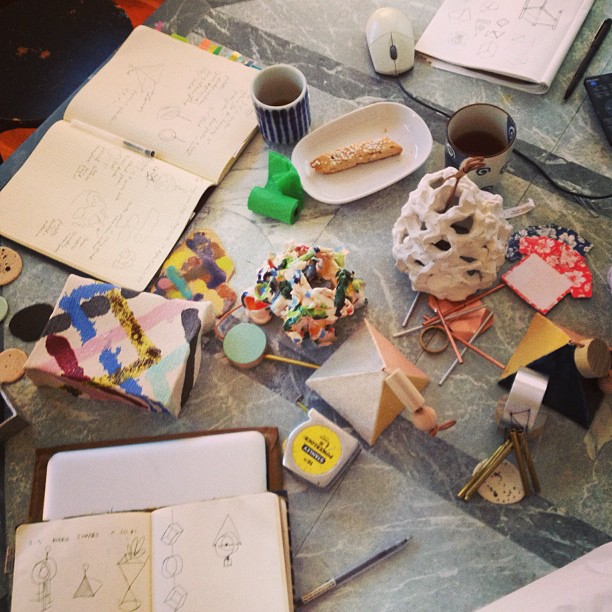
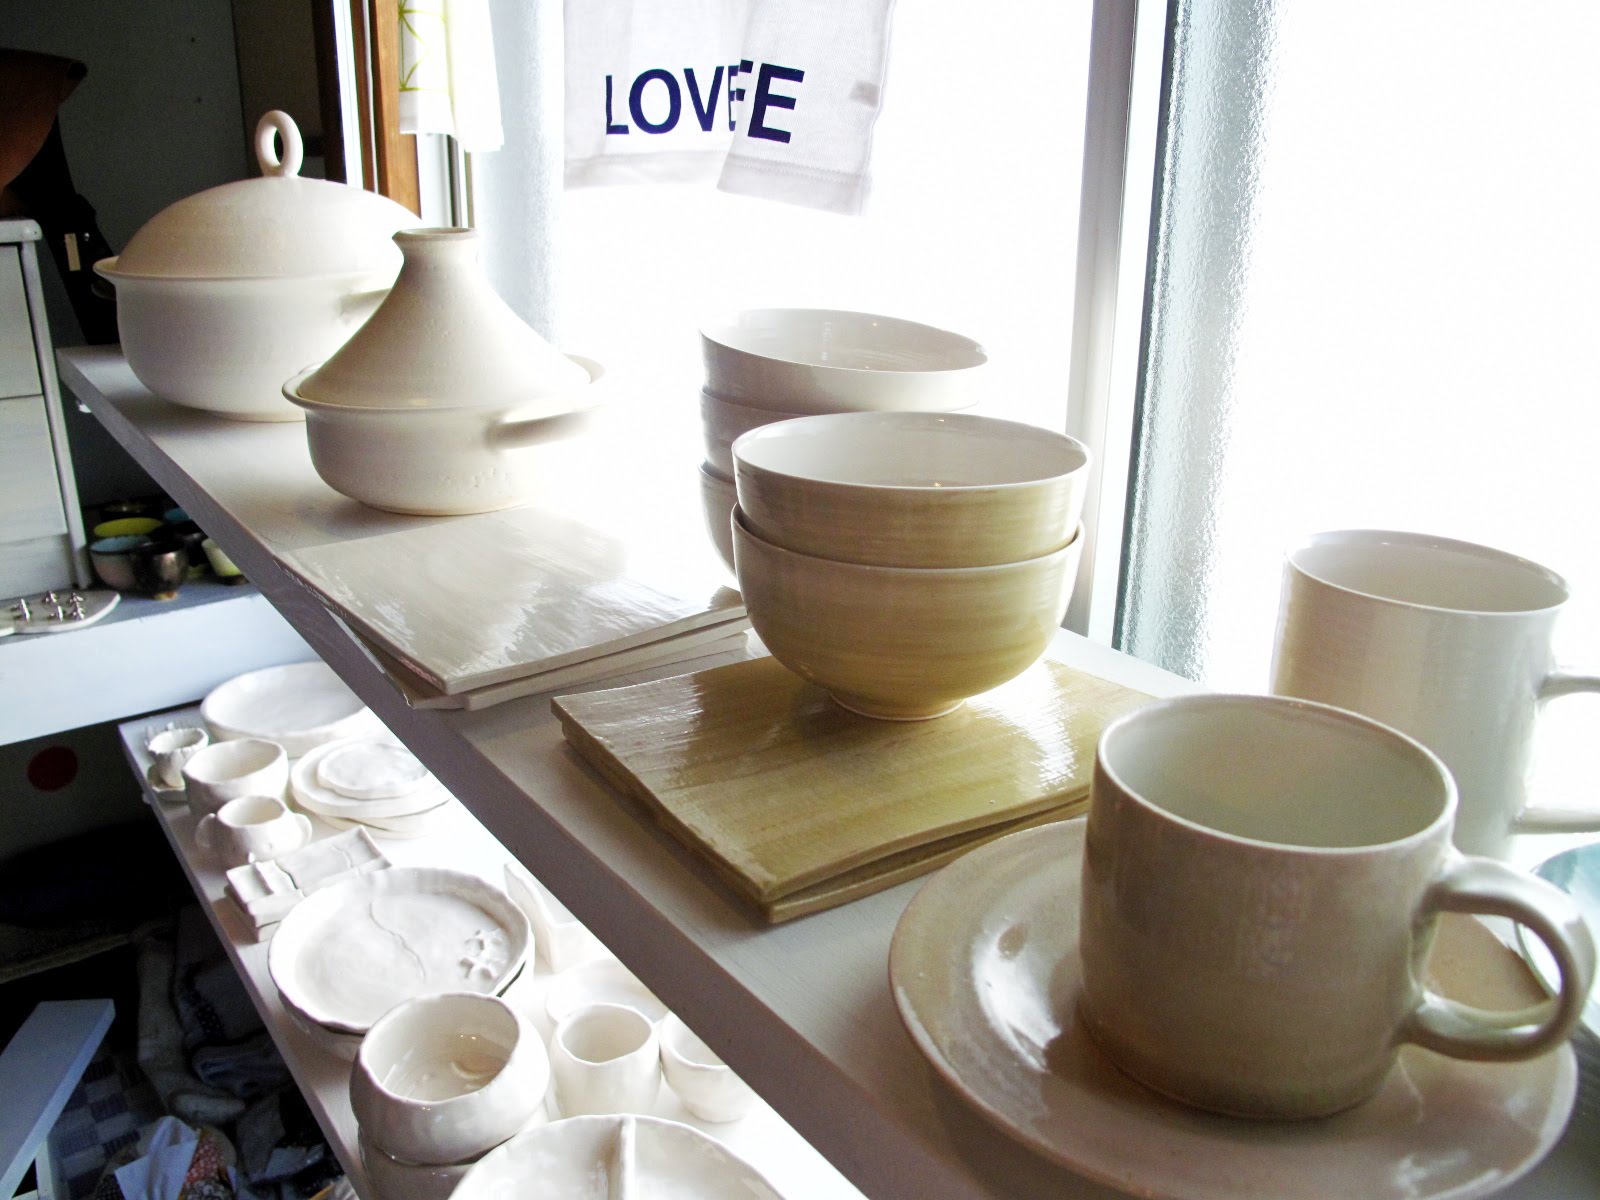
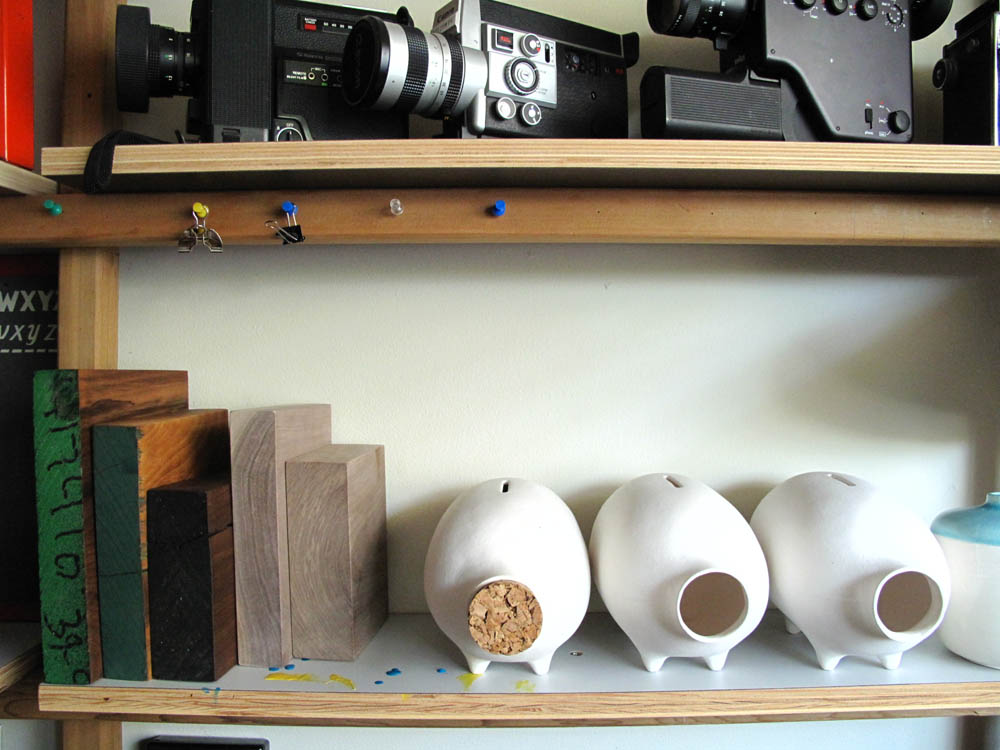
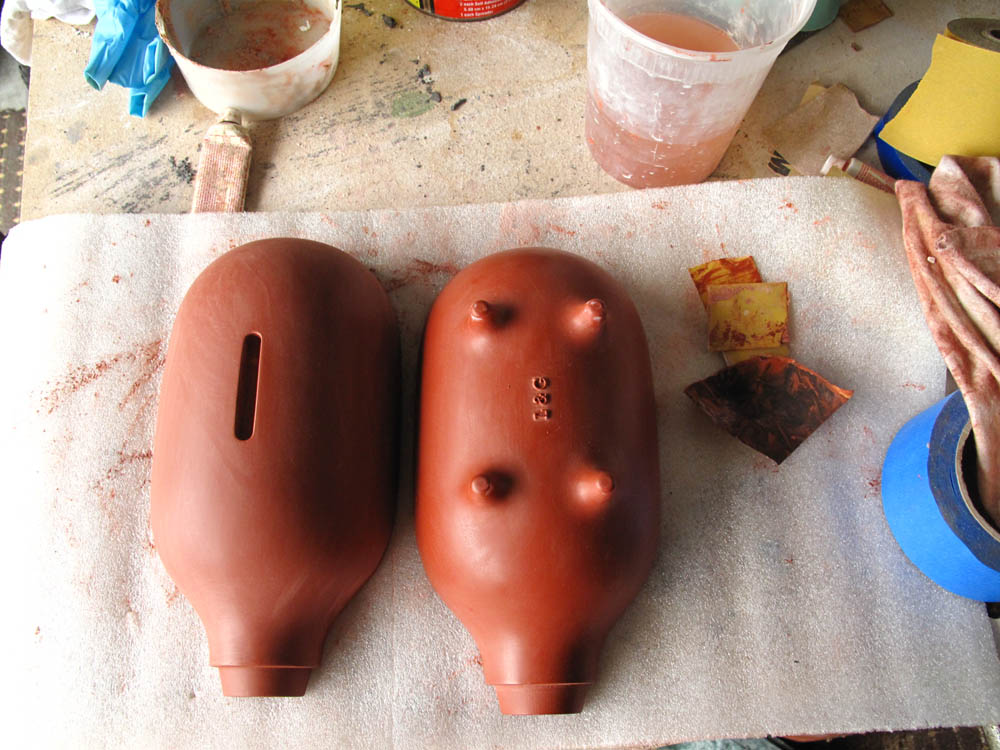
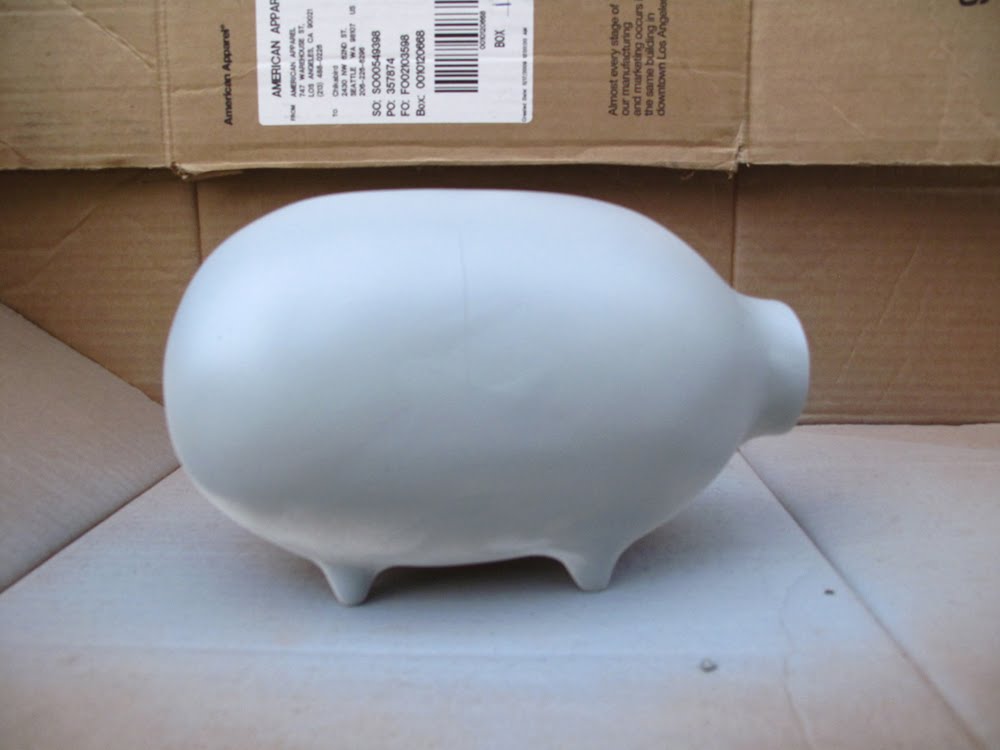
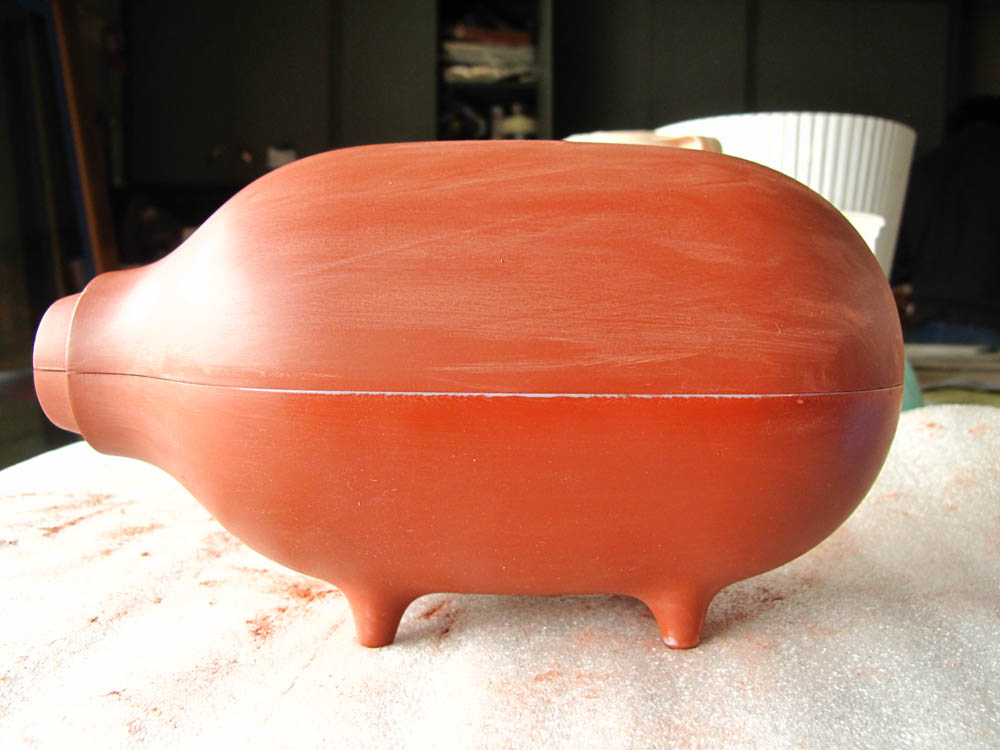
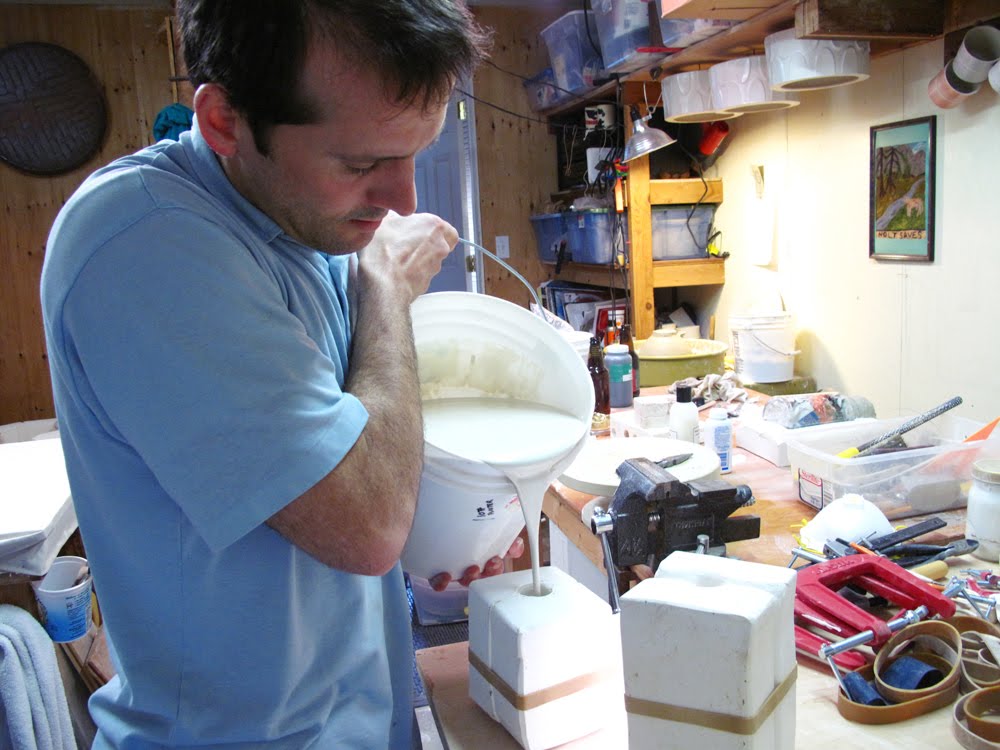
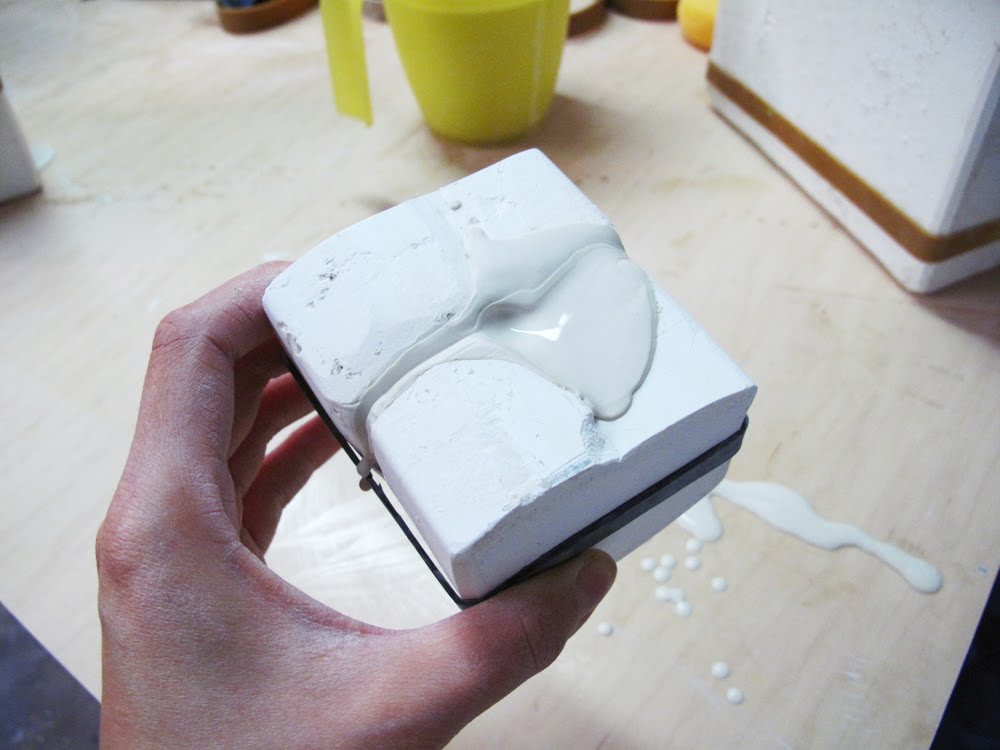
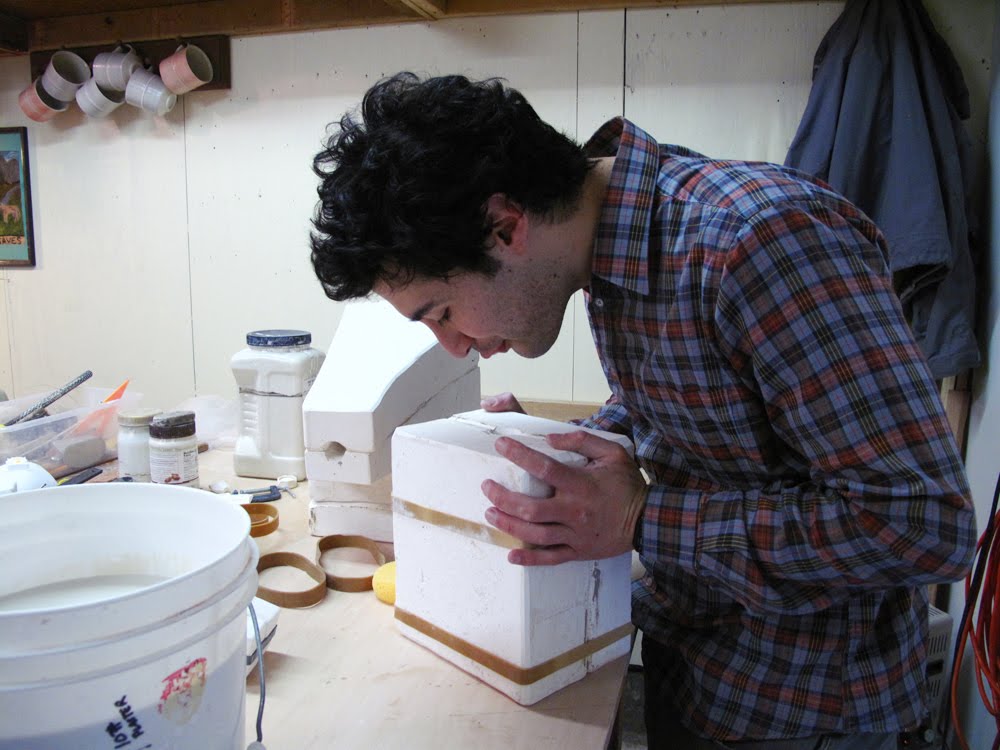
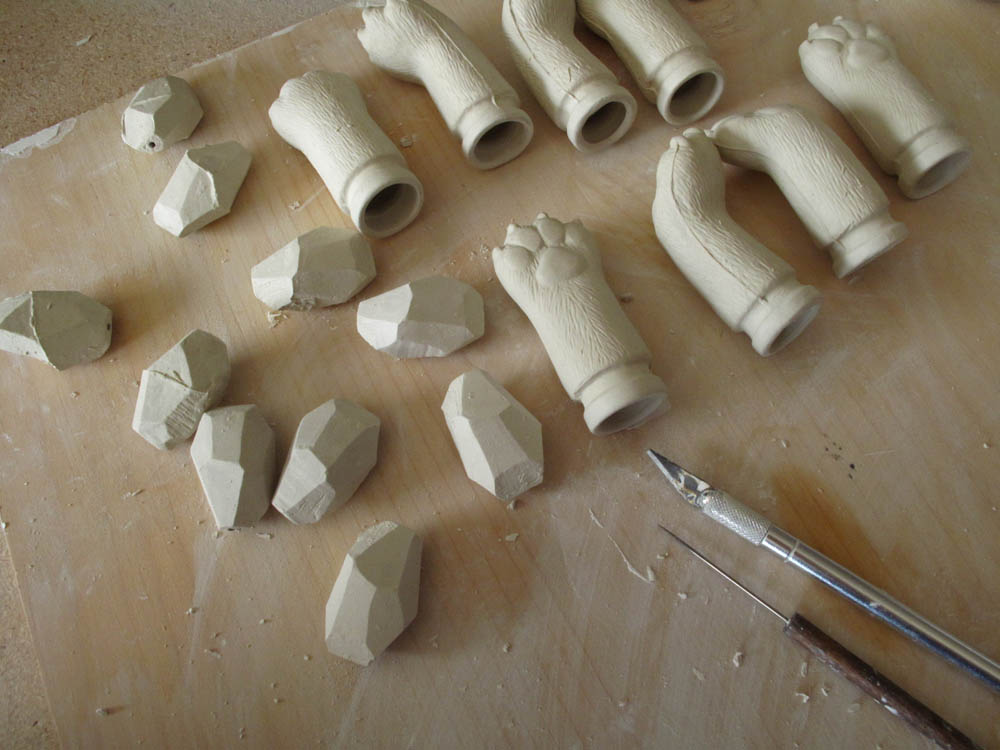
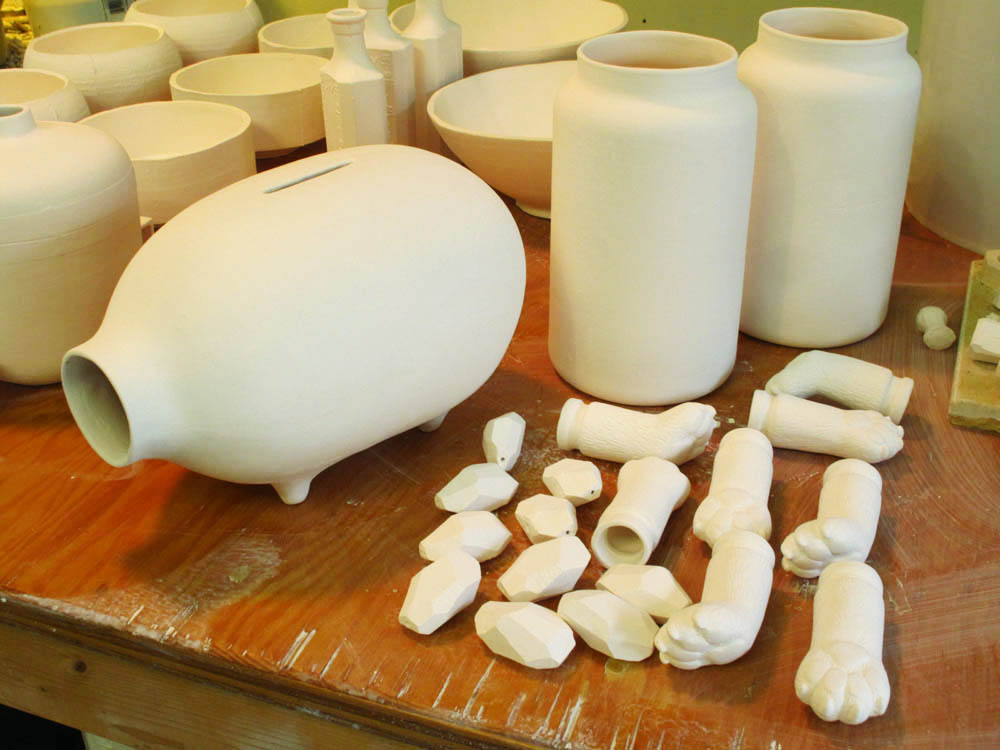
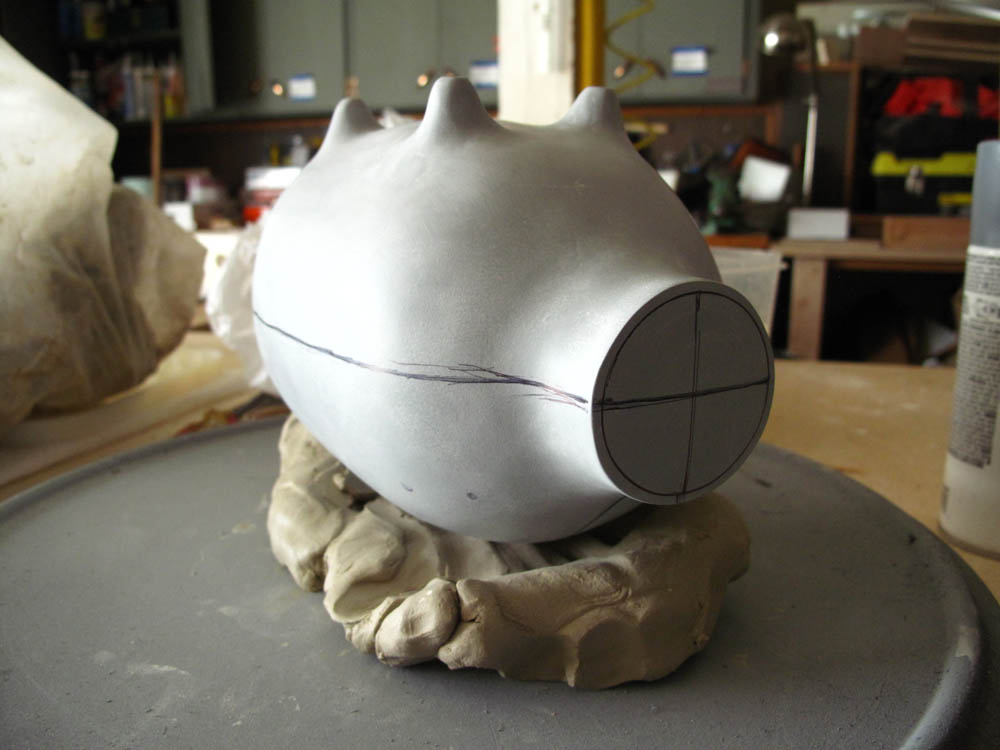
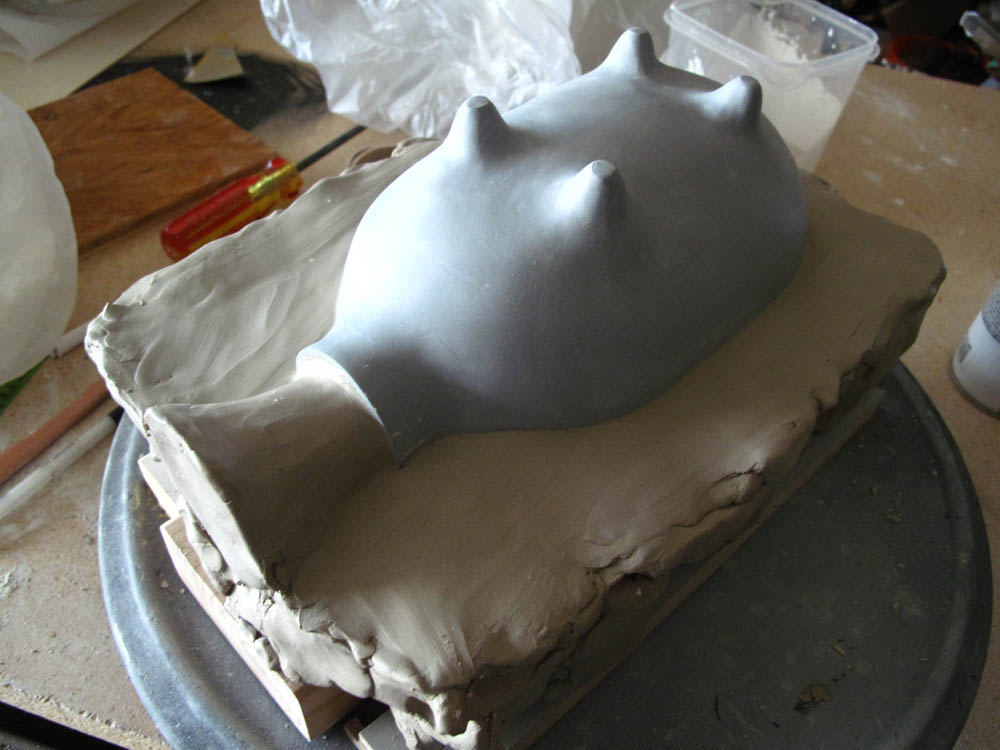
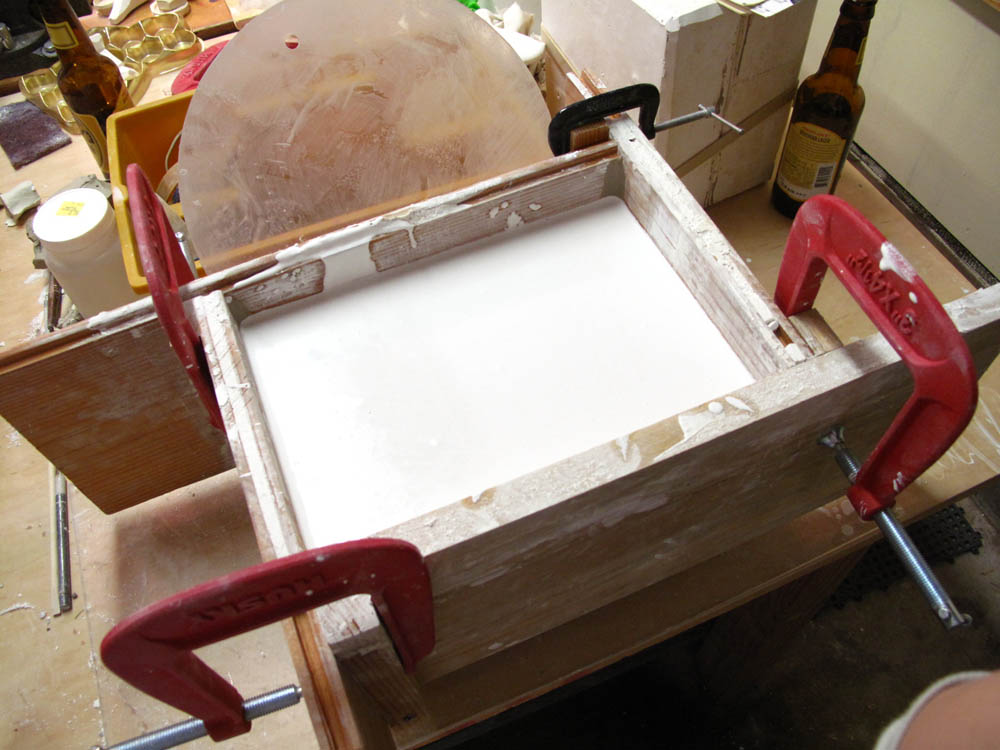
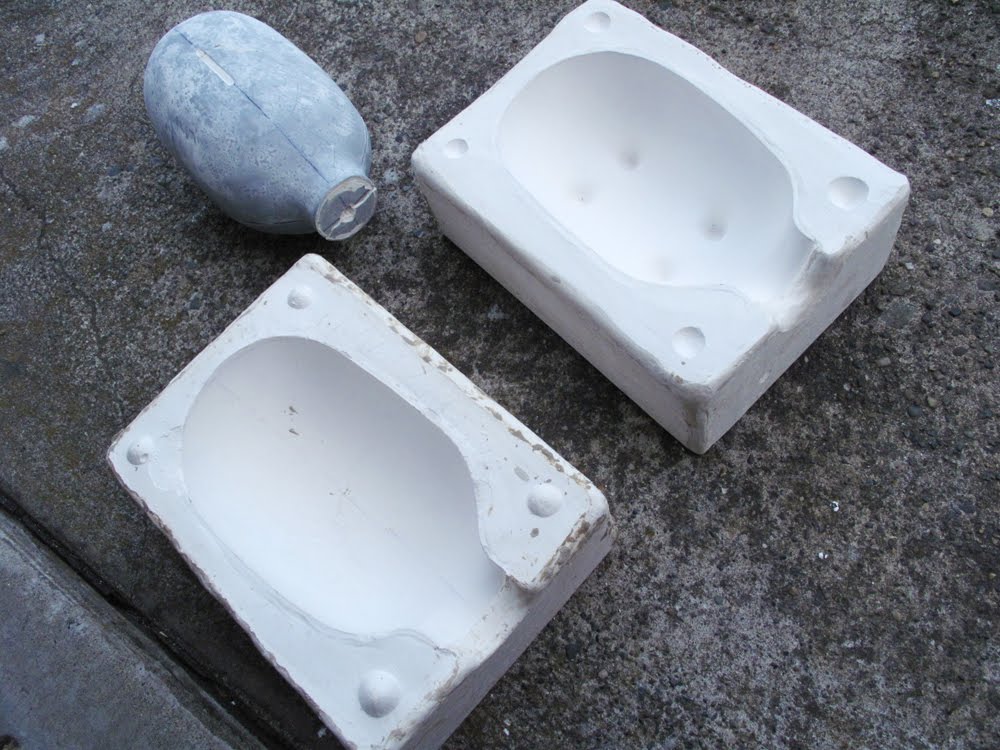
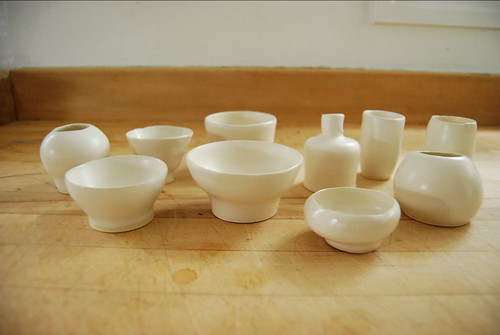
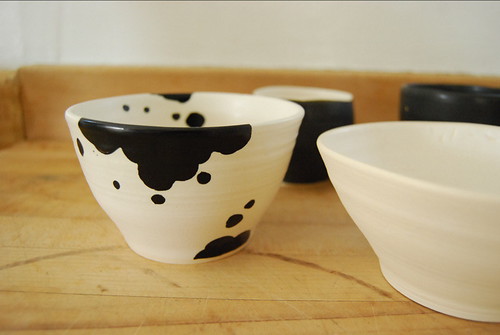
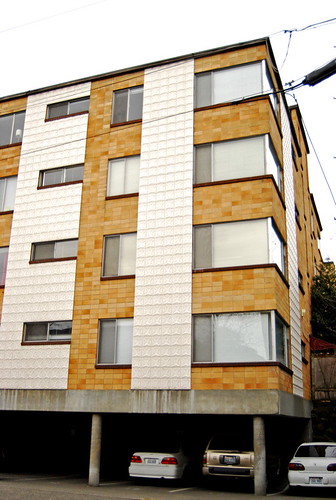
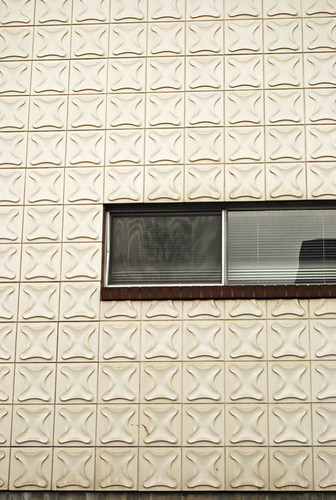
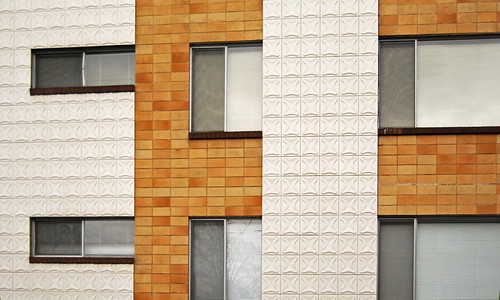
Here are some photos from our brainstorming  session with Nicholas and at his lovely home!

LGstudio_process16.jpg
LGstudio_process17.jpg

Comment

Comment

Fresh molds

Getting ready for the first pour on a new crisp set of pig molds for CITM piggy v4.0. More on him soon!

Comment

Comment

Sssss(Blended) Plates


I love these splendid pieces by Amsterdam-based artist, Maxime Ansiau, reinterpreting traditional plates by simply conjoining & repeating the artwork of the plates.

Could be an interesting experience to eat out of the 6 blended plates as a group!


Comment

Comment

Japan Sight / Taste / Find: 3/11

Day: 6 A day at Mami & Seiya's bike & lifestyle shop, Depot in 市川 Ichikawa.

SIGHT:
Charming handmade ceramic pieces of all sorts at the shop by their friend, Koichi-san & Waka-san.

TASTE:
World's most AMAZING ramen we've ever had...handmade noodles, softboiled eggs, and light soy sauce broth at 菜ラーメン Sai Ramen....droool....

FIND:
The mess that we saw at our friend's home just couple hours after the most devastating earthquake of all times in Japan. A 7.5+ level that shook for 2-3 minutes long. Luckily no major damage where we were...but not so much the case in Northern Japan...

Comment

Comment

L&G's New Things!

We know that the winter holiday has just past...but this also means its time to launch some new items for 2011 Spring/Summer! I know I'm ready for it!

here's a quick intro of our new additions:

This little piggy has a twist!: A new, limited edition (of 100) Chalk-it-to-me Piggy Bank with a knotted leather tail.

Superior Server Blues: We added a handsome new spring color - Vintage Aqua - to the Superior Server family!

Porcelain Gem Necklaces: Hand-cast ceramic gem stone necklaces highlighted along with various type chains.
Some of these new items will be launched at this coming NYIGF with JOIN!
JOIN
has combined forces once again along with 6 other Northwest design
studios to launch a series of new products and accessories at the
New York International Gift Fair January 30th - February 3rd, 2011.

Hurray for new things!

Comment

Comment

New At UCU

(top secret low-res phone pic...sorry for the bad quality)

UCU Sunday exclusive! Jean's new necklaces with hand-casted ceramic gems, available in a wonderful set of finish options. We have six only for today, so come early and be one of the lucky purchasers!

More better quality photos later!

Comment

Comment

Slip Casting Fun: 4 Realz

So as you know we've been bustling our little piggy behinds on bringing these little piggy to the market. The NY market at the NYIGF to be exact!!
Based on what we learned from our slip casting class....we realized there's a reason why humans make machines like 3D printers so we don't ever have to make imperfect models from scratch! Thanks to our duplex mate/friend & confidant/pro Solidworks user, Jared of General Assembly was able to help us draw up a perfect Chalk-it-to-me Piggy Bank model!! But also his office just invested in a new 3D printer and so we got to try it out and also see the magic birth-giving/clone-making of our version 2.0 piggy bank!

Here's the version 1.0 piggy accompanying Jared while he drew it up on Solidworks. I'm still proud of us for making the first piggy from scratch, but there's just still too many imperfections of uneven bumps and surfaces that we didn't feel okay taking it to the market with it... :(
Here's a rendering of version 2.0 piggy on the screen....ahh....so perfect and smooth looking....
After much tweaking and refining of version 2.0 piggy. Jared sent it to their magical robot 3D printer...where it literally spews out a liquid resin material and prints it layer by layer in .00000000001 mm (a little exaggerated, yes, but you get the idea ) layers and builds it from bottom to the top like a topographical map.
Here's the cloning of the pig in the machine. (play some sort of sci-fi soundtrack)
After almost 24 hour of straight printing we got the first half of version 2.0 cloned piggy! I could have stood there watching it the whole time if I could since it was so mesmerizing to look at....
We even got our logo integrated on its belly! It just totally blows my mind what computers & machines can do!! I freaking love machines!!
Here's Dylan with second new born!! ...just the first half of it.
Here' are the two halves getting primed and wet sanded so they'll have even more perfectly smooth surfaces...like a baby's tush. :)
Here's a comparison photo of the first piggy. Granted the first version has its own personality and charm, I think the second version's refined contours and proportions is bringing it to a higher level of awesomeness! But we still love version 1.0 piggy just as much as despite its slight flaws!
...and here it is!!!  Version 2.0 piggy master model! We're so thankful of all the hard work and the hours that Jared has put in to help us making all this happen!! We wouldn't have been able to take the pig to market if it weren't for all Jared's awesomeness!!
Now we just have to see how the real slip cast ones will turn out!!
Can this get any more exciting....and the answer is....YES of course!

Comment

Comment

Slip Casting Fun: Part III

Here's our third update on our slip casting process!!
Last post was all about making the master form and the mold. I know....totally boring....but now the really fun part where we actually get to make real things!!

Here's how it goes:
The 2 part plaster molds are held together by couple of thick rubber bands. Once assembled, pour pre-mixed, pre-configured clay slip into the mold. Start timing! It's pretty amazing how primitive this whole process is, but it totally works!

So here's Heath pouring slip into one of his molds.
Here's my little gem shaped mold with slip poured in.
The slip sits in the mold and the plaster in the mold eventually absorbs the water from the clay. This will harden the clay body and create a wall thickness all around the shape inside. Once it achieves the ideal wall thickness, we pour out the rest of the slip and just let it sit for a bit!
Here we have Dylan trying to blow in the mold thinking it would speed up the drying process....but that's not proven to be very time efficient.... So do not follow his technique. :P
My slip cast gem taken out of the mold after the clay had hardened. You can see where the pour spout and the parting line is where the molds met. All that has to be trimmed and cleaned up afterward. This is the fun part for someone who's a little OCD like me....it's a totally gratifying step to just use some tools to trim and clean everything up so it looks all nice and neat!
And here are some finished trimmed gems & critter paws!
.....and here's our first trimmed piggy!! YAY!!
OUR FIRST BABY!!I've never had a baby...but considering how much I had to go through to get this baby out, I'd imagine the feeling of accomplishment and love is similar to delivering an actual one.....I'm 95% positive...
Except this baby saves money....unlike a real human baby which in contrast would COST a lot of money...I hope this baby pig will be a good investment. :)

So here's our first batch of some fired pieces!! I can't explain how awesome it is to be able to start with some liquid clay and end up with finished products that we designed! It just totally makes me really appreciate the art of slip casting. Even though it's more of a production process, it still required so much time & care in every step of the process to make it nice. And finally....a finished & glazed piggy! WOO HOO!!
We didn't have the right type of black glaze for this first one....so just glazed it white. So this one still isn't the real deal (Sorry for all the build up)
But I just feel the need to share this one because it is our first child!!  Yes..we'll totally be the type of parents to take a BUNCH of photos of their first child and then don't bother with the second child...

We designed it with simplicity of form and function in mind...we want as much smooth surfaces to maximize the chalkable surface, also designed it so the pour spout (where we pour the slip) is actually the piggy's snout! Eh? You like that??
But really...we just wanted to make a simple mold that we can easily do ourselves. :DGranted this little piggy have cost us more than we want to think about...we still believe that it'll all be worth it in the end. We really hope we'll get our return when we launch the real thing at the NYIGF!! I'm keeping my fingers crossed!


Comment

3 Comments

Slip Casting Fun: Part II

Despite the unfortunate conclusion of our 8 week super-duper slip casting class, the slip-casting excitment continues.  If you haven't been reading every single post we've written this year (shame on you!), the class taught us all the steps of casting from start to finish; the goal:  to make ceramics mulitples of a form quickly, easily and awesomely.

For the class, we wanted to make something special for L&G and so we decided to create our own original L&G Chalk-It-To-Me piggy bank!  Here's a little trip down memory lane of how this little piggy came to be:

We quickly sketched up (I'm a great sketcher, right?) a simple & minimal piggy with a capsule-like form that I thought would be a nice easy form to cast.
From there it was as easy as 1, 2, 3!!

STEP ONE: Make a master form.  In order to create the mold, we need to create a positive "master" pig that is an exact specimen of what we want our cast forms to look like.
Little did we know...the first step of making darn thing was a total ordeal. It didn't have to be...but I just ended up making it that way. Go figure...

I used my first instinct...which is to use our handy dandy laser cutter from Chikabird.
I figure I can draw the shapes in layers and build the form up like a topographical map! This was my way of it getting the form close to perfect versus just making it from clay. Clever right? But In cardboard....not so much. Now you're probably asking why the hell I used cardboard to build the form...that's a very great question. Well....I decided to use cheap-o Sculpey (craft 101 style) thinking that I can roll out the material and drape it around the form, then bake it and sand it afterward!
I thought it wouldn't be such a good idea to use acrylic for the laser form since it would melt in the baking process...and so why not plywood you ask? Well, honestly... I don't know! Why didn't you mention that BEFORE I started making this?!?So here it is with the Sculpey draped over. I think the last time I used Sculpey was in middle school or something. I realized there was a reason for that...this stuff is horrible to work with!! Its too soft and I kept making finger marks all over as I was handling it.
After going through the baking process, the rough piggy form was made. But then somehow there were little cracks that formed because I either baked it for tad too long or there were areas that were too thick! UGH! But by that point, it was no going back, those cracks could be easily filled right?...can't you just feel the suspense?

Then it was onto the sanding phase. My favorite!! Who doesn't like to spend HOURS sanding laboriously using sandpapers between 100 grit and 1200 grit...and on top of that, I also had to use Bondo to fill in all sorts of indents and fix all the cracks from the baking process since the Sculpey surface was so bumpy. Can someone remind me why I used Sculpey??
After that it was on to the priming stage. This is where I had to spray the whole thing with primer, sand between layers, and repeat this step for 2 more times.
And Voila! Here's the finished piggy model!
And you think after attending industrial design classes for 3 years that I'd know something about model making!! NOPE! If anything this proves that I shouldn't be making models!
Despite all that, I hope it was somewhat useful to see my process... Since now you know all my secrets and know NOT to follow any of the same steps!
So...now that we're done with step one...

STEP TWO: Prepare the master for mold making. This was actually easier since I just had to carefully build up the first half with clay covering up to where the parting line is (roughly marked on the pig).  It was critical to line up with the exact mid-point of the pig. Then it I had build outward leaving about an inch and a half of border around. Lastly, the most essential part...a pouring snout that connects to the pig, which is an opening that will allow the slip to get poured in for the slip casting process.After all that, we then used these plywood pieces to build four walls around the clay form. The corners and edges all had the be sealed with clay so no plaster would leak out. The master shape also needed some mold soap so it could separate easier from the plaster.

STEP THREE: Pouring the plaster to make the actual mold!We used special slip casting clay (Plaster No.1) to make the mold. This involved measuring the volume needed and then following some equation of measuring out the 1/3 plaster to 2/3 water ratio. (Here's a WAY better instruction, HERE!) We then poured the mixed plaster in and then let it sit for awhile as it hardened and set. Once its hard, we took the walls off, leaving the master pig in the plaster...and then poured the other side in the same way.So this is what the two piece mold looks like! You can see the one on the right is the top half, and the one on the left is the bottom half with the feet. Even with all the mold soap-ing we did, the piggy was nearly impossible to get it out of the mold. So we had to use some major force and drill into the snout and pry it out...this made me almost want to cry after all the work that went into it!! But it was either doing that or leaving it stuck in the mold...so...not a whole lot of options.
So this is what the master piggy looked like with all the cracks all over from all the abuse...not too happy looking. Unfortunately we won't be able to make another mold with this again. Sad...

See? TA-DA! It is easy as 1,2,3!
...It's just that every step required 50 intermediate steps that's all!
Of course this isn't the end of it!! We've still got to show you the slip-casting process and the finished products later!! Just be patient it's totally gonna be worth it!


3 Comments

Comment

Slip Casting Fun: Part I

We're very sad that 8 weeks of slip casting fun is over before we could even blog once about it, so here's a found look back (cue up "Will you Remember Me?" for a graduation-style slide show effect)

After months of much-effective harassment Jean, Chika, Jared, and I finally convinced our dear friend and talented ceramist Heath Bultman to share his skills and wisdom in the ancient art of slip casting. He was gracious enough to open up his tiny home studio and set it up as a classroom for the four of us. To the tunes of JT and Kenny Loggins we eagerly soaked up knowledge, plaster dust, beers, and jokes...not a bad way to spend a Tuesday evening.We started our class making plaster molds of existing objects. Mold making and mixing plaster is an art and science in itself, but with Heath's guidance we more or less successfully created castable molds of a few of our favorite objects.

Me pouring a bud vase made from an existing vessel.

From front to back: molds for Heath's lamp base, Chika's found "snake oil" bottle, my bud vase, Jared's potato mugs (he casted potatoes...what a rebel!), Jean's cork-topped canister.

Jean's handmade gem and mold.

Jean used here thrifting skills to find this existing mold (above) for bear feet....or cat...or maybe racoon. Waving hello...
Me looking satisfied with my cast piece.
We got more to come....hint. There's gonna be some original L&G piece!

Comment

Comment

So Far and Yet So Close

Not sure about you, but I'm always a little behind on knowing what's new and awesome in Seattle...and for the fact that I don't hang out in Downtown Seattle nearly enough, I was REALLY behind in discovering this AMAZING shop/gallery called {far4}....a total hidden gem!

We first came across the shop when Jamie of Iacoli & McAllister mentioned it to us when she invited them to one of our JOIN shows. With the luck of such great exposure at the show, Jenny Klimenkoff who runs the store contacted us wanting to carry some of our Chalk figures! (there's our Mr. Rabbit in the window!)
We were incredibly honored and excited to be in their shop, since they boast an amazing collection of the highest quality handmade housewares, art, antiques, and designs from all around the world. While it seems like a shop from NY, they're actually located in downtown Seattle with an open space and beautifully exposed brick wall that houses {far4}'s shop and gallery showcasing carefully curated selection of ceramic ware and art. (lucky us!)

With an unexpected mixture of objects of both great elegance and humor, I find myself mesmerized by every detail of every single item while feeling unsure if I should even be allowed to handle them!

Here's Jenny & Yelena behind the platter of hard-to-resist French Macarons from local Seattle bakery, Honore.A fabulous porcelain sculptures of a life-size monkey that reminds us a little bit of Jeff Koon's Monkey!
Check out these realistic looking pea pods and flowers with paper thin petals from Klimenkoff Studio!! Holy
wow.....Ceramic doll heads on top of Iacoli&McAllister's Pedestals. Love the arrangements together!
The patterns on the cups are made using only colors of the clay by Yusuke Aida....just incredible.

Comment

3 Comments

Chalk it to Me!

With the JOIN show behind us, our pieces are back in our possession, so I wanted to share this series that Jean put together of chalkboard coated figurines. It's called "Chalk it to Me" and it debut in our recent show, Ctrl+Alt+Design show last month. These figures are one offs from rummaging through thrift stores and spending hours on ebay looking for the right figures. Now you can interact more with figurines a little bit more on a daily biases...bunny figures has needs,too....they like to feel special every once in a while, too. Just like all of us. :D
Here are some more figures we have:
Pretty Panther Shepherdoodle 
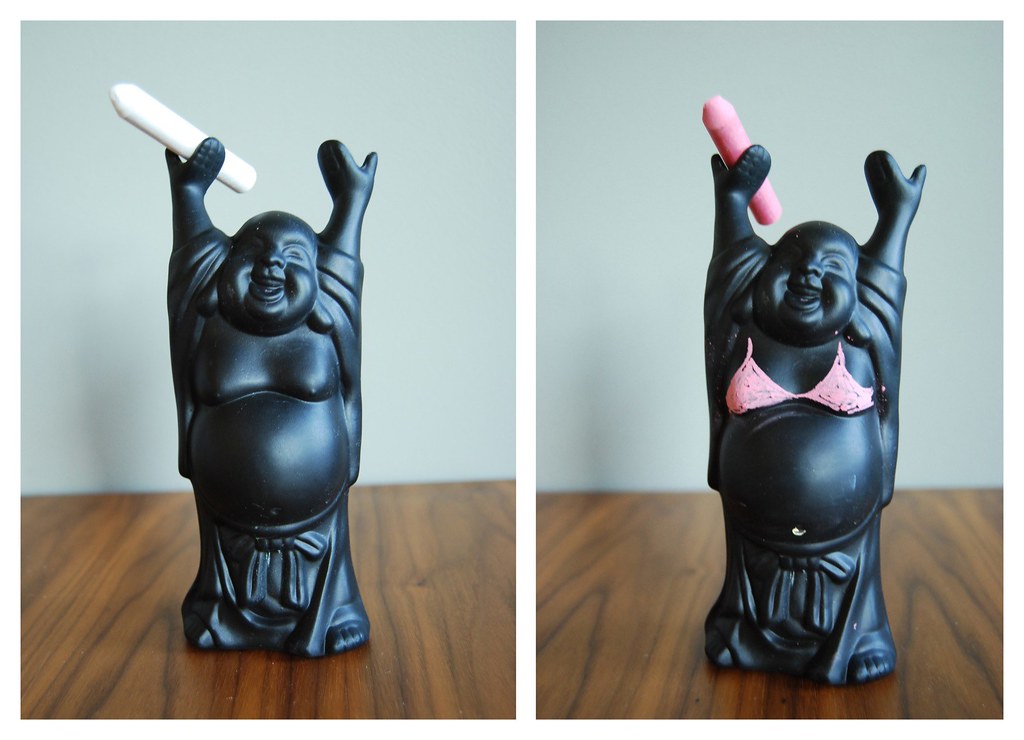
Buddha Gone Wild. (AKA, Raise the roof Buddha)
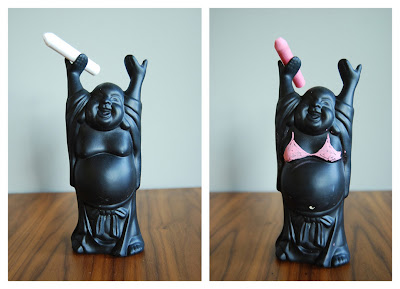
Limited pieces are up for sale on our test Big Cartel shop we're currently piloting. More to come soon!

3 Comments

3 Comments

Girard Girard!!

Just saw over at Grain Edit that House Industries came out with a WHOLE line of products with Alexander Girard's illustrations and graphics! I've been a huge huge fan of Girard's work for years now and it's great to see that his spirit still lives on. House Industries dedicated 4 years capturing the essence of Girard's work and spirit. They first started off creating some font types....then next thing they knew, they were designing toys of all sorts, plush dolls, books and more!
See their whole collection and their great website, here.
Girard is an iconic Modern American designer who managed to integrate his expressive and vibrant colors, patterns, and graphics in everything imaginable. I couldn't help but include a ton of images of Girard's work. They're all just too good! Let's look at all his amazing accomplishments...
he designed textiles for Herman Miller (these are re-pros of his prints on maximo) God! I want all of that!
he designed a whole line of furniture,
did the branding for Braniff airline (remember those fab & glam pink and orange airplane interiors? Yup that's Girard!),
designed the interior for La Fonda Del Sol Reasturant, even down to the smallest things like the cups, glasses, teapots, mugs, plates, placematts, utensils, napkins and everything!

Girard is just like all his other crazy Herman Miller friends from the 50's (Eames, Sarrinen, Noguchi, George Nelson, etc.) who paved the road for modern American design. I don't understand how they all managed to make everything they did so totally awesome.....I swear the crack must of been better back in the days or something...there's just no other explanation.

Here's also a little Girard 101 by Todd Oldham below:


3 Comments

1 Comment

I Heart Everyone!

I received some great neat gifts from people for my birthday awhile ago and forgot to mention it. There's a previous post about other great gifts I've received as well. Sorry everyone! But just wanted to let y'all know that I really am thankful for all the great lovely gifts!! I LOVE THEM ALL! (^.^)

Here's where they live in my home, now....
My first Heath ceramic from Terri! I was totally psyched to get this as a gift, since I've always wanted something from Heath Ceramics. I especially love their series of bud vases, it's such a soft humble form that feels very warm and satisfying.
Quirky creature from Terri. I cracked up when I saw this funny thing! it's so cute! I don't know what's front or back...but that's what cute about it, it could go either way. the brown thing could be a nose or a tail!Tea towels from Chika. I was also super psyched about these since I've been eying on these forever! These are designed and made by Skinny La Minx , all the way from South Africa. The designs are charming and beautiful. Close up of the beautiful printed towels. 100% cotton and made in South Africa.
Needle felted bowls handmade by Lauren. Aren't they sweet? I didn't know you can needle felt things like that! I wanna have a felting party now! who's in!?
Also made by Lauren are these sweet fabric covered tacks. I love the colors and the patterns. Those will definitely be useful for my studio, can't wait to use them!

THANKS AGAIN EVERYONE!

1 Comment

Comment

Finally!! Glazed pieces!

Finally! here they are, all glazed and done! As you can see we didn't take too many risks in terms of experimenting with glazes. So we played it safe and went with white, black, yellow, and some oranges. All the white pieces are my miniature form studies. I threw them all on a hump of clay and each are about 2.5"-3" tall. It was great way to practice making various forms in a short amount of time. This was the extent of my experimentation using underglaze. Black bubbles.
This is the yellow and white combo by Dylan. My first piece in use....and you guessed it! It's a planter! If it's not a vase or a bowl, it's going to be a planter. The color and shape reminds me of an orange...with a crazy stem.
This is one of the letter stamp piece with a clear glaze. I made some coasters some with letters and some with numbers. All the pieces can be seen here on Flickr.
After taking the ceramics class, it made me really want to have my own ceramics studio and just make things all day. It's so gratifying to see and feel the finished piece in your hand. Hopefully I can make this happen before I retire!
-Jean


Comment

Comment

Table of white

Here are all the piece Dylan and I did over the 10 week wheel throwing course at Greenlake Community center. These are unglazed, so we still have to go through the agony of waiting for the final results of all the pieces in their fully glazed state. We started looking through all the shelves and kept finding pieces that we didn't even remember making!!
I was surprised how many things we actually made! I think part of it was because many pieces were only 2-3 inches tall (I like making little things), and I made sure that we used ALL of our clay....none wasted!
I struggled in the glazing phase since there were so many pieces to glaze. I kept finding myself having internal debates in my head about whether to keep it simple but boring by using white or be experimental but risk having bad results with other glazes. It's really tough not knowing for sure how they'll turn out!!
We'll be picking them up this coming Thursday, and I'm actually really nervous about seeing them.........Oh god! are they going to look like crap!? It's killing me!
But we won't find out until Thursday! I just gotta keep my fingers crossed....tightly.
-Jean


Comment

Comment

Understated tile building

This is a old 60's apartment building in Capitol Hill, close to Harvard Exit theater. It's an understated building that you can just walk by and not notice it. But once I stopped to take a look at it, I started noticing all these interesting things about this building.
I just love the pattern of the white ceramic tiles. They reminds me of Heath ceramic tiles, which I want use everywhere on my house!! when I own one that is.
There is something graphically striking in the building as whole....the white relief tiles mixed with the rusty tiles, the various sized windows that runs to the edge of each section....It all seem so intricately planned and intentional.
-Jean
Click on photo to link to our Flickr.

Comment

Comment

Stamping fun!

I've been having fun with wheel throwing for the past 8 weeks, but felt like I needed to do something more experimental with patterns. So I decided to take out my set of old linoleum alphabet stamps to stamp on clay! I was totally itching to use my stamps, because I haven't used it since making Christmas gift tags....It's been awhile.
I was screwing around with the stamps. I didn't keep the design. I used letters instead. The color of the stamps are from the ink, which unfortunately won't stay after being fired. I guess I can hand glaze each letter, but most likely it won't look as clean as the photo. Hmm...dilemma. I might just glaze it white, since you can't go wrong with white....I'm very cautious with the glaze, because it's a breaker deal with this step. It doesn't matter how cool the piece looks, if it has crappy looking glaze, then you might as well throw it against a wall....or throw at somebody you hate. I'm exaggerating, but pretty much it just gets ruined if the glaze don't turn out the way you expect. We'll see in a few weeks!
-Jean

Comment